 hi, i'm
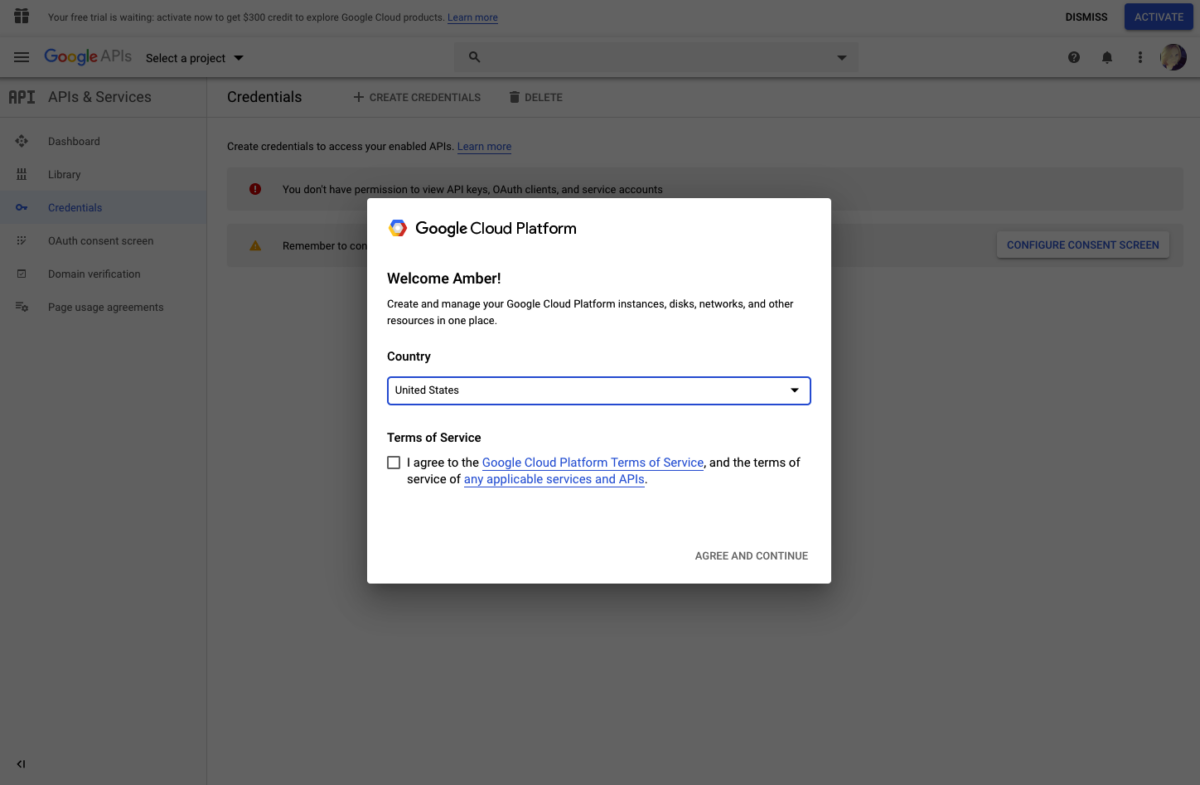
If you’re wanting a live Google map on your website, Google now requires you to setup a billing account and obtain API keys from their Google Cloud platform. Unfortunately, it’s not a very easy interface to use and requires some getting used to, so we’ve written a step-by-step walkthrough to make the process a little bit easier.
Step 1: Go to the Google Cloud Platform
Navigate to https://console.developers.google.com/apis/credentials and sign in to your Google account to start setting up your API key. If you’ve don’t already have a Cloud account setup for your Google login, you’ll need to answer a few questions and setup billing. If you’ve already done this setup before, you can skip ahead to Step 3.

If you see a “Welcome” popup, choose your appropriate country, agree to the terms, and click the AGREE AND CONTINUE button. You should now see the Cloud dashboard, with nothing on it.
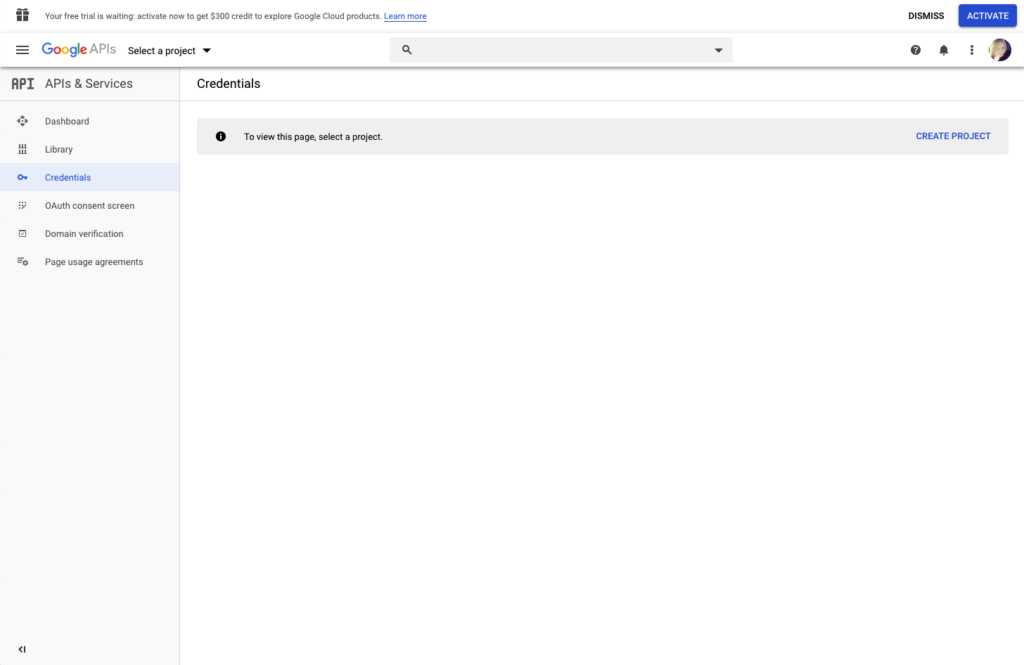
Step 2: Set up billing
Before we can set up a project, and get the needed API key, we first need to setup billing. The first year with Google Cloud is completely free, with $300 in extra credits. After that you have to switch to a paid account, but you’ll still receive $200 a month in free credit, which covers most clients and doesn’t require extra payment.
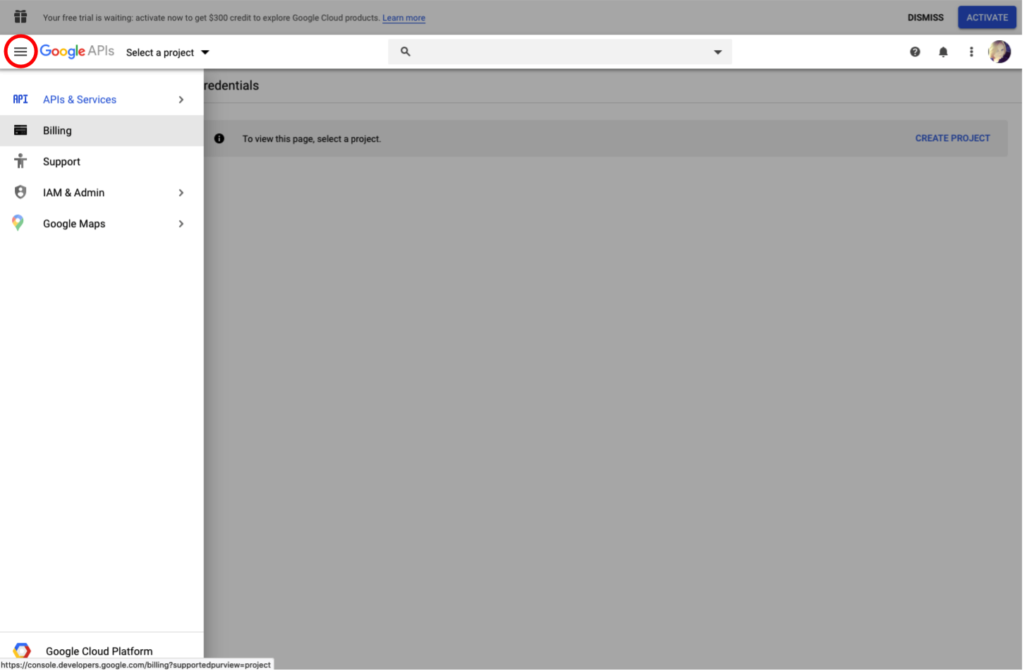
To setup billing, click on the hamburger menu in the top left corner of Google, and then choose “Billing” from the menu options.
Here you’ll add a billing account – remember, this won’t charge you anything, but is used to verify your identity.
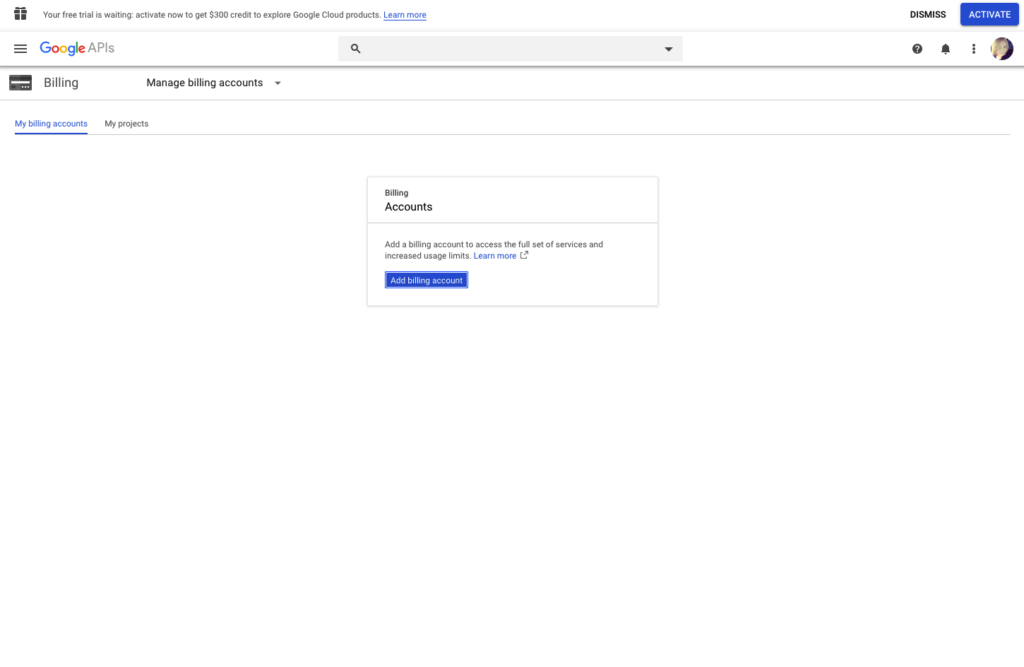
Click on “Add billing account” and proceed to follow the prompts to setup billing. On screen 1, you’ll verify your country and the terms of service agreement.
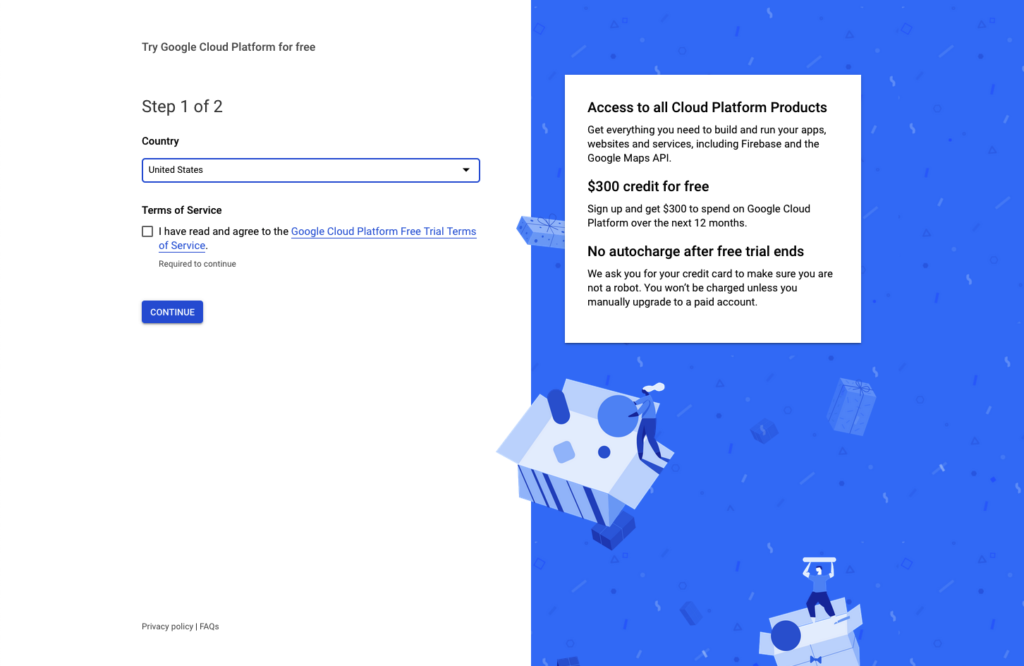
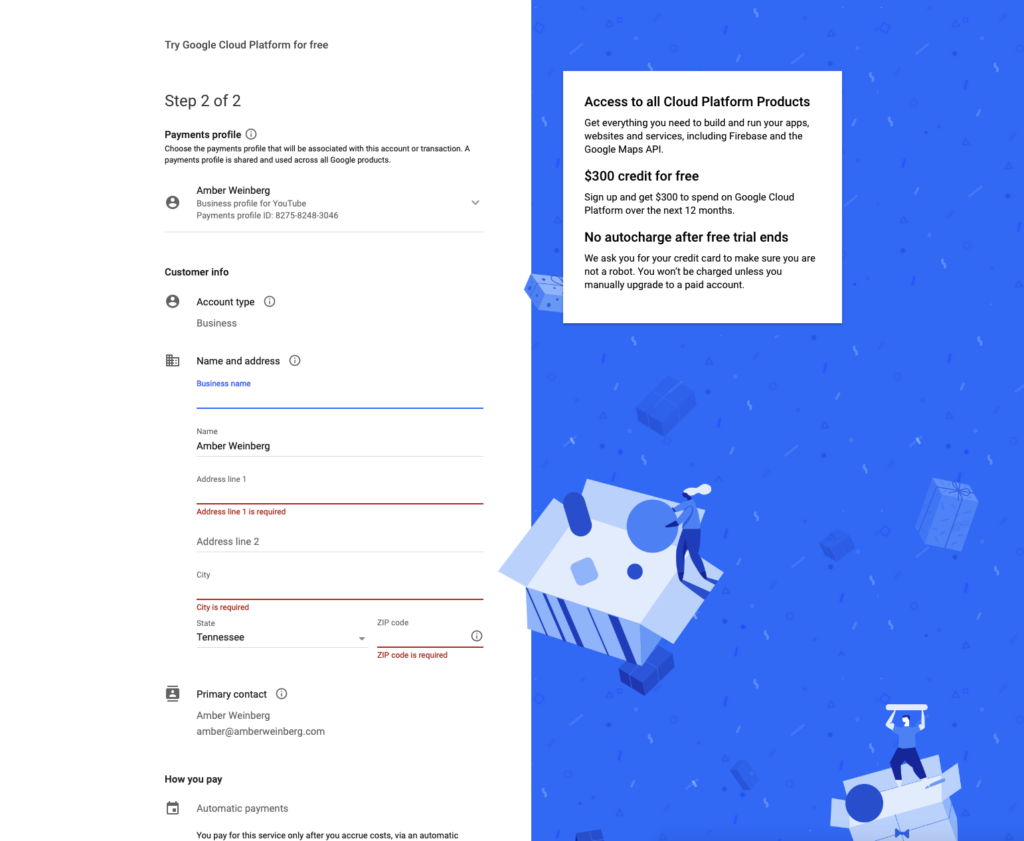
On screen 2, you’ll add your address and credit card information.
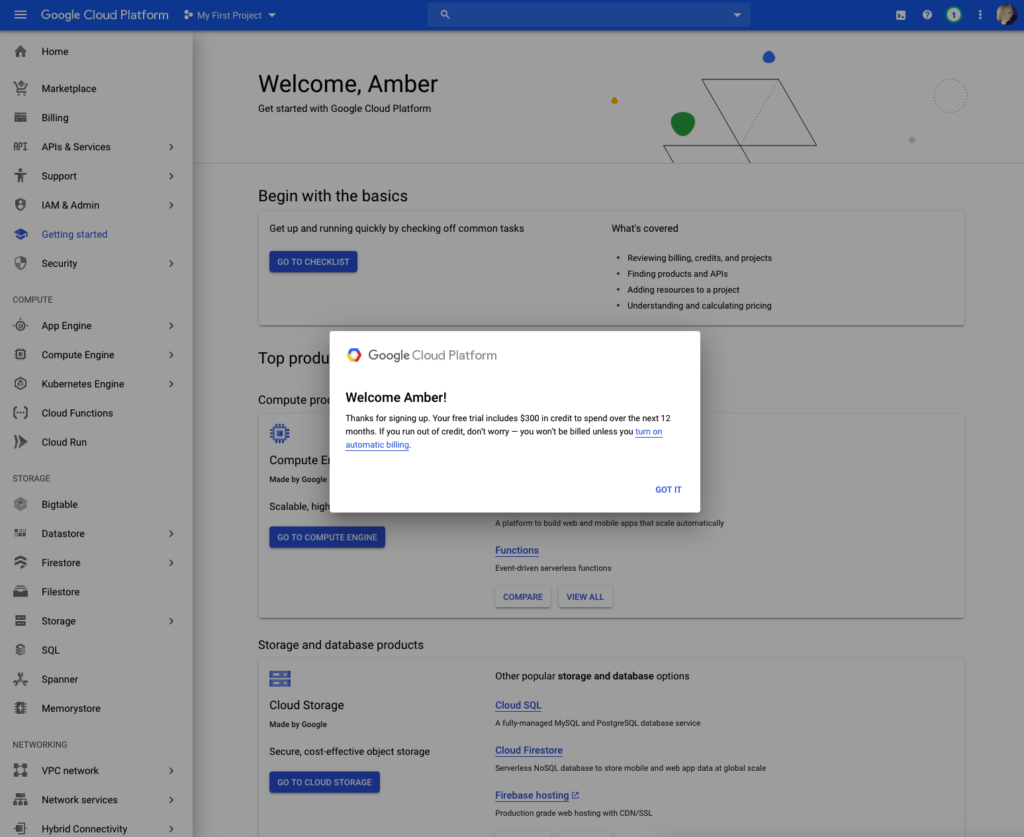
Once finished, click the START MY FREE TRIAL button to begin setting up a new project. Go ahead and click GOT IT on the next popup.
Step 3: Create your API Key
Google automatically creates a sample project called “My First Project” for you to test. Let’s rename this to our website to make it easier to find in the future. At the top of the page, you should see a new dropdown, called “My First Project” next to the Cloud Platform logo.
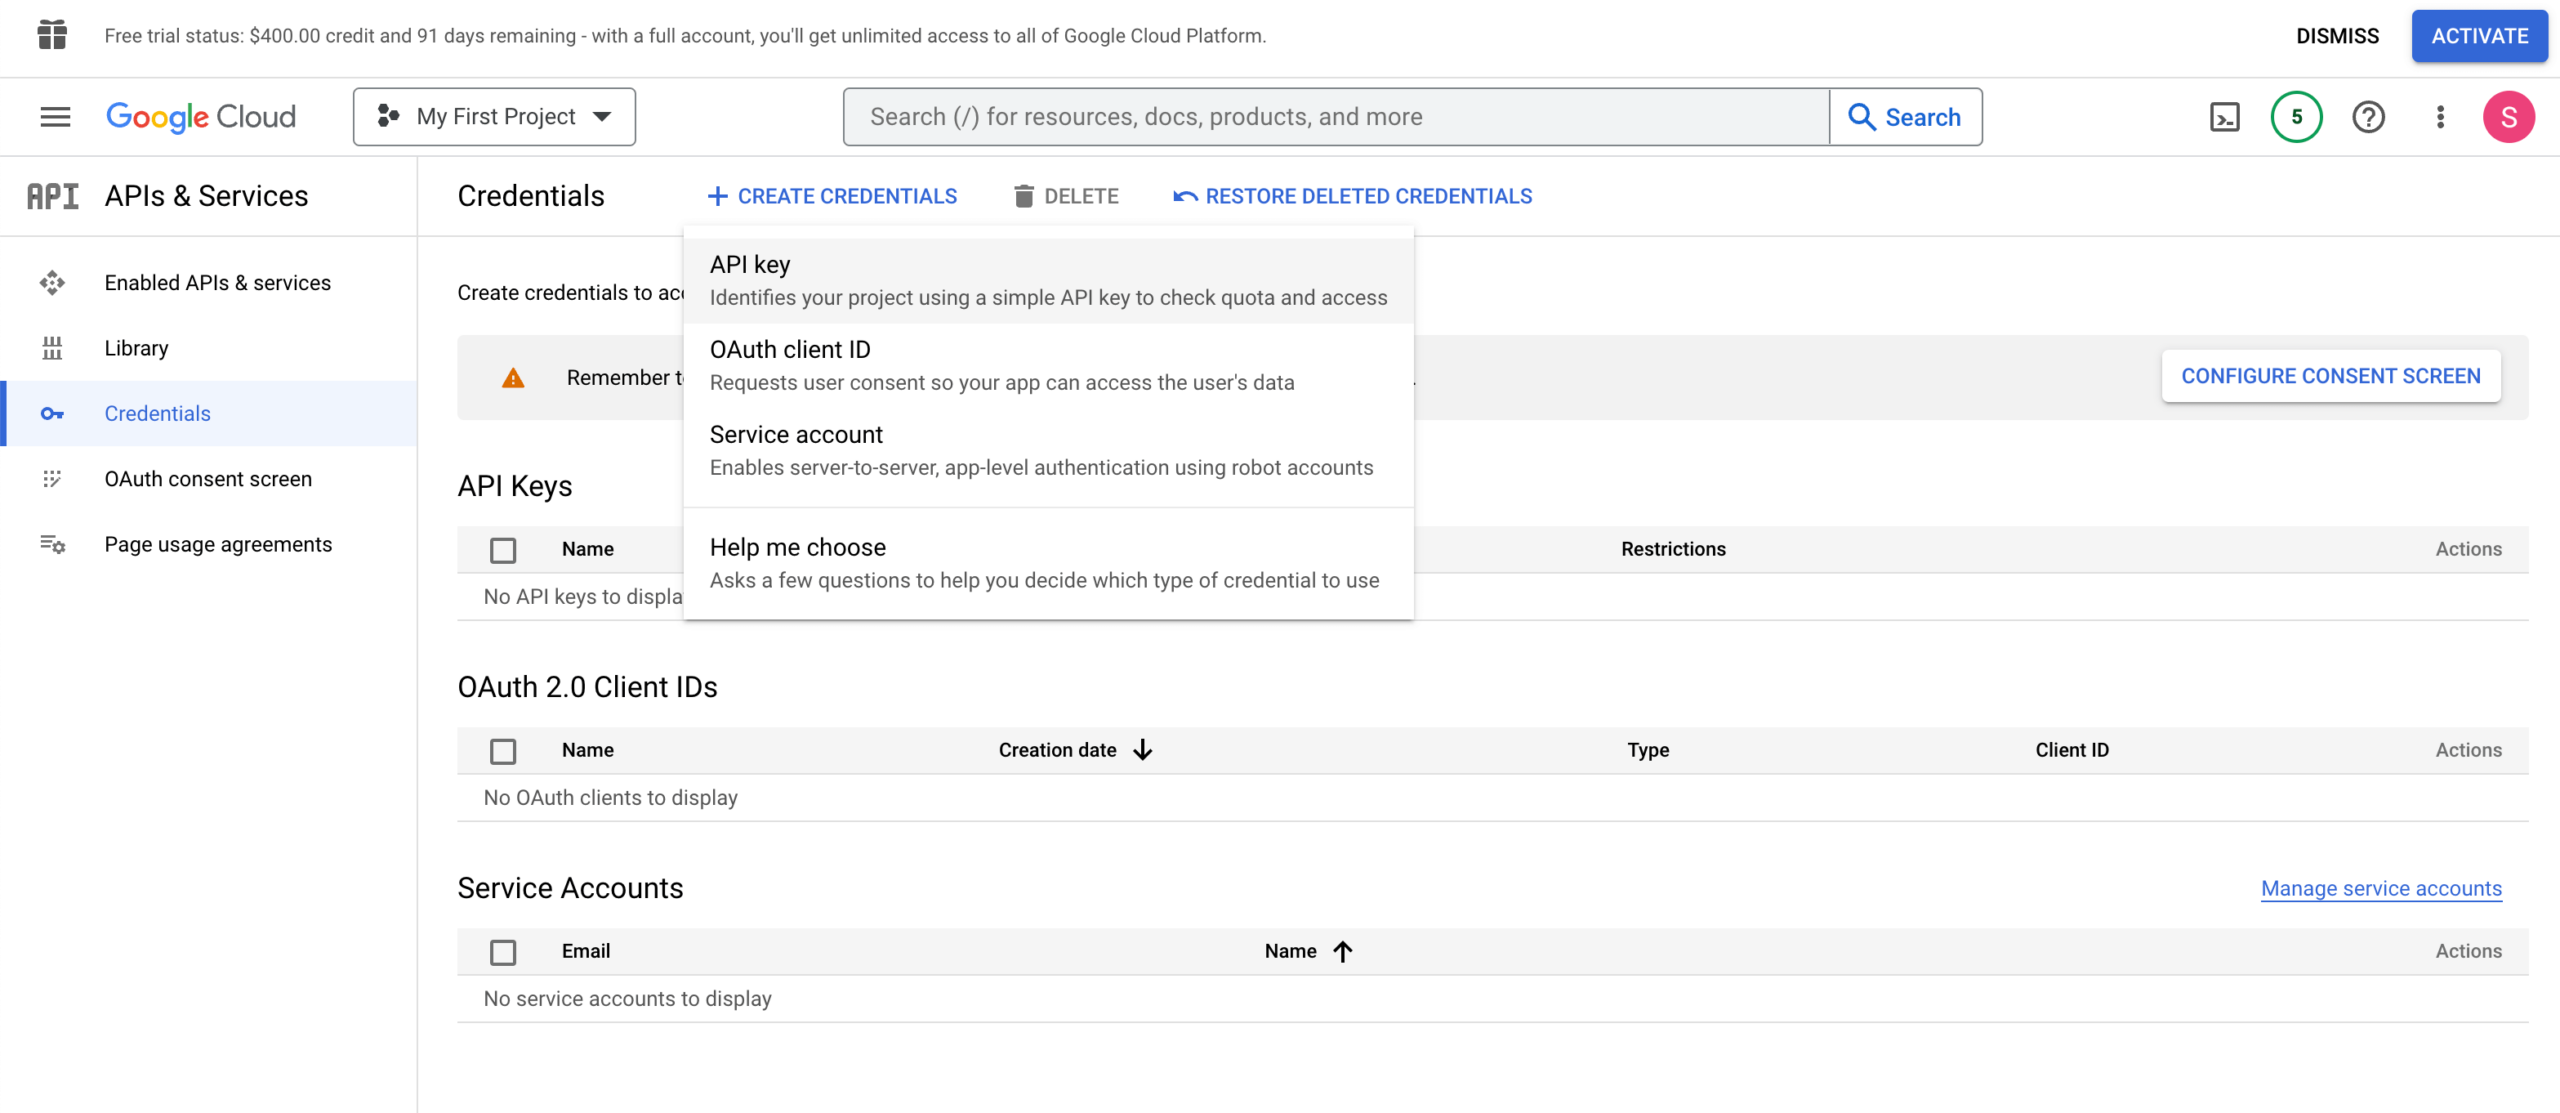
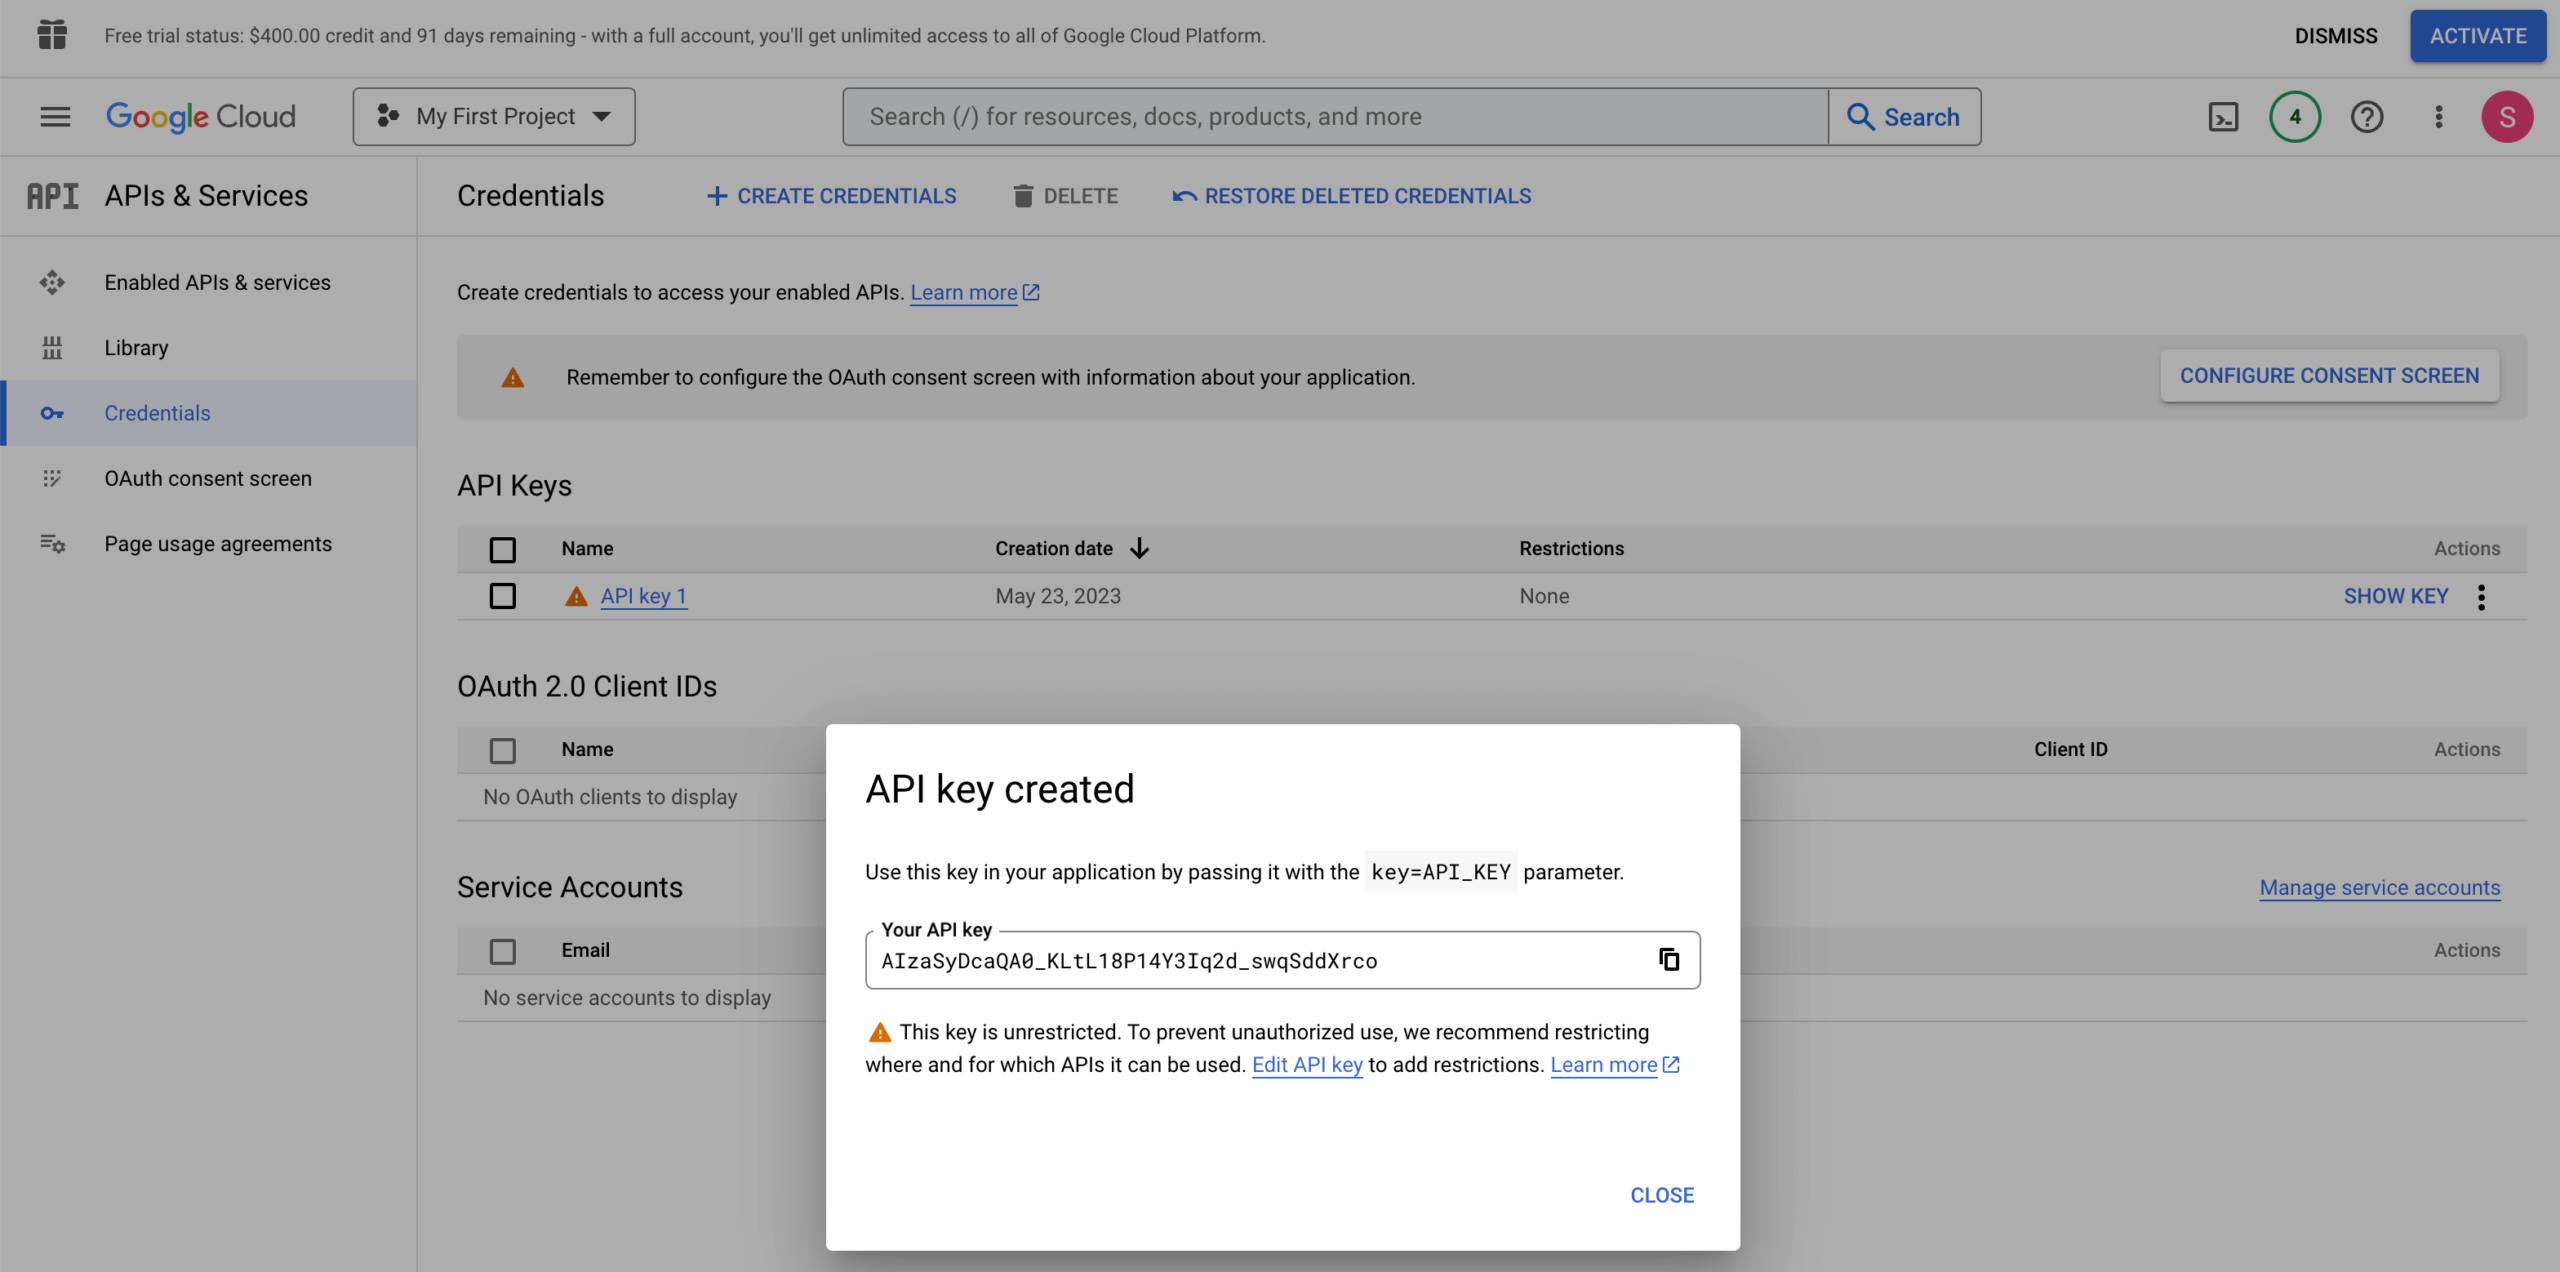
To begin setting up your API key, make sure you’re in the Credentials tab (which you can select from the column on the left side of the page). Then click on the +CREATE CREDENTIALS button on the top middle of your screen, and choose “API Key” from the list.
You should now get a popup with your key – a long list of letters and numbers. You’ll want to copy this key and give it to Simpatico. Do not share this key with anyone else!
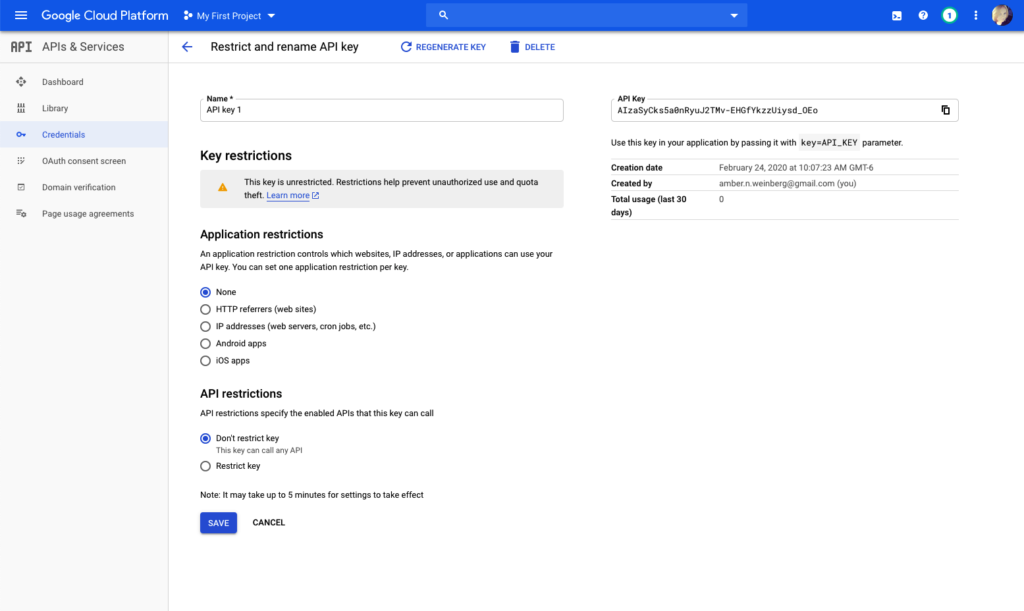
Step 4: Restrict your key to your domain
Because this key is what your billing account will base your usage on, you’ll want to restrict it to your domain only, so no one else can use it on their website. From the popup in the screenshot above, click on Edit API Key to set this up.
Under “Set an application restriction”, we’ll select the “Websites” option. Click on that will bring up the restriction information.
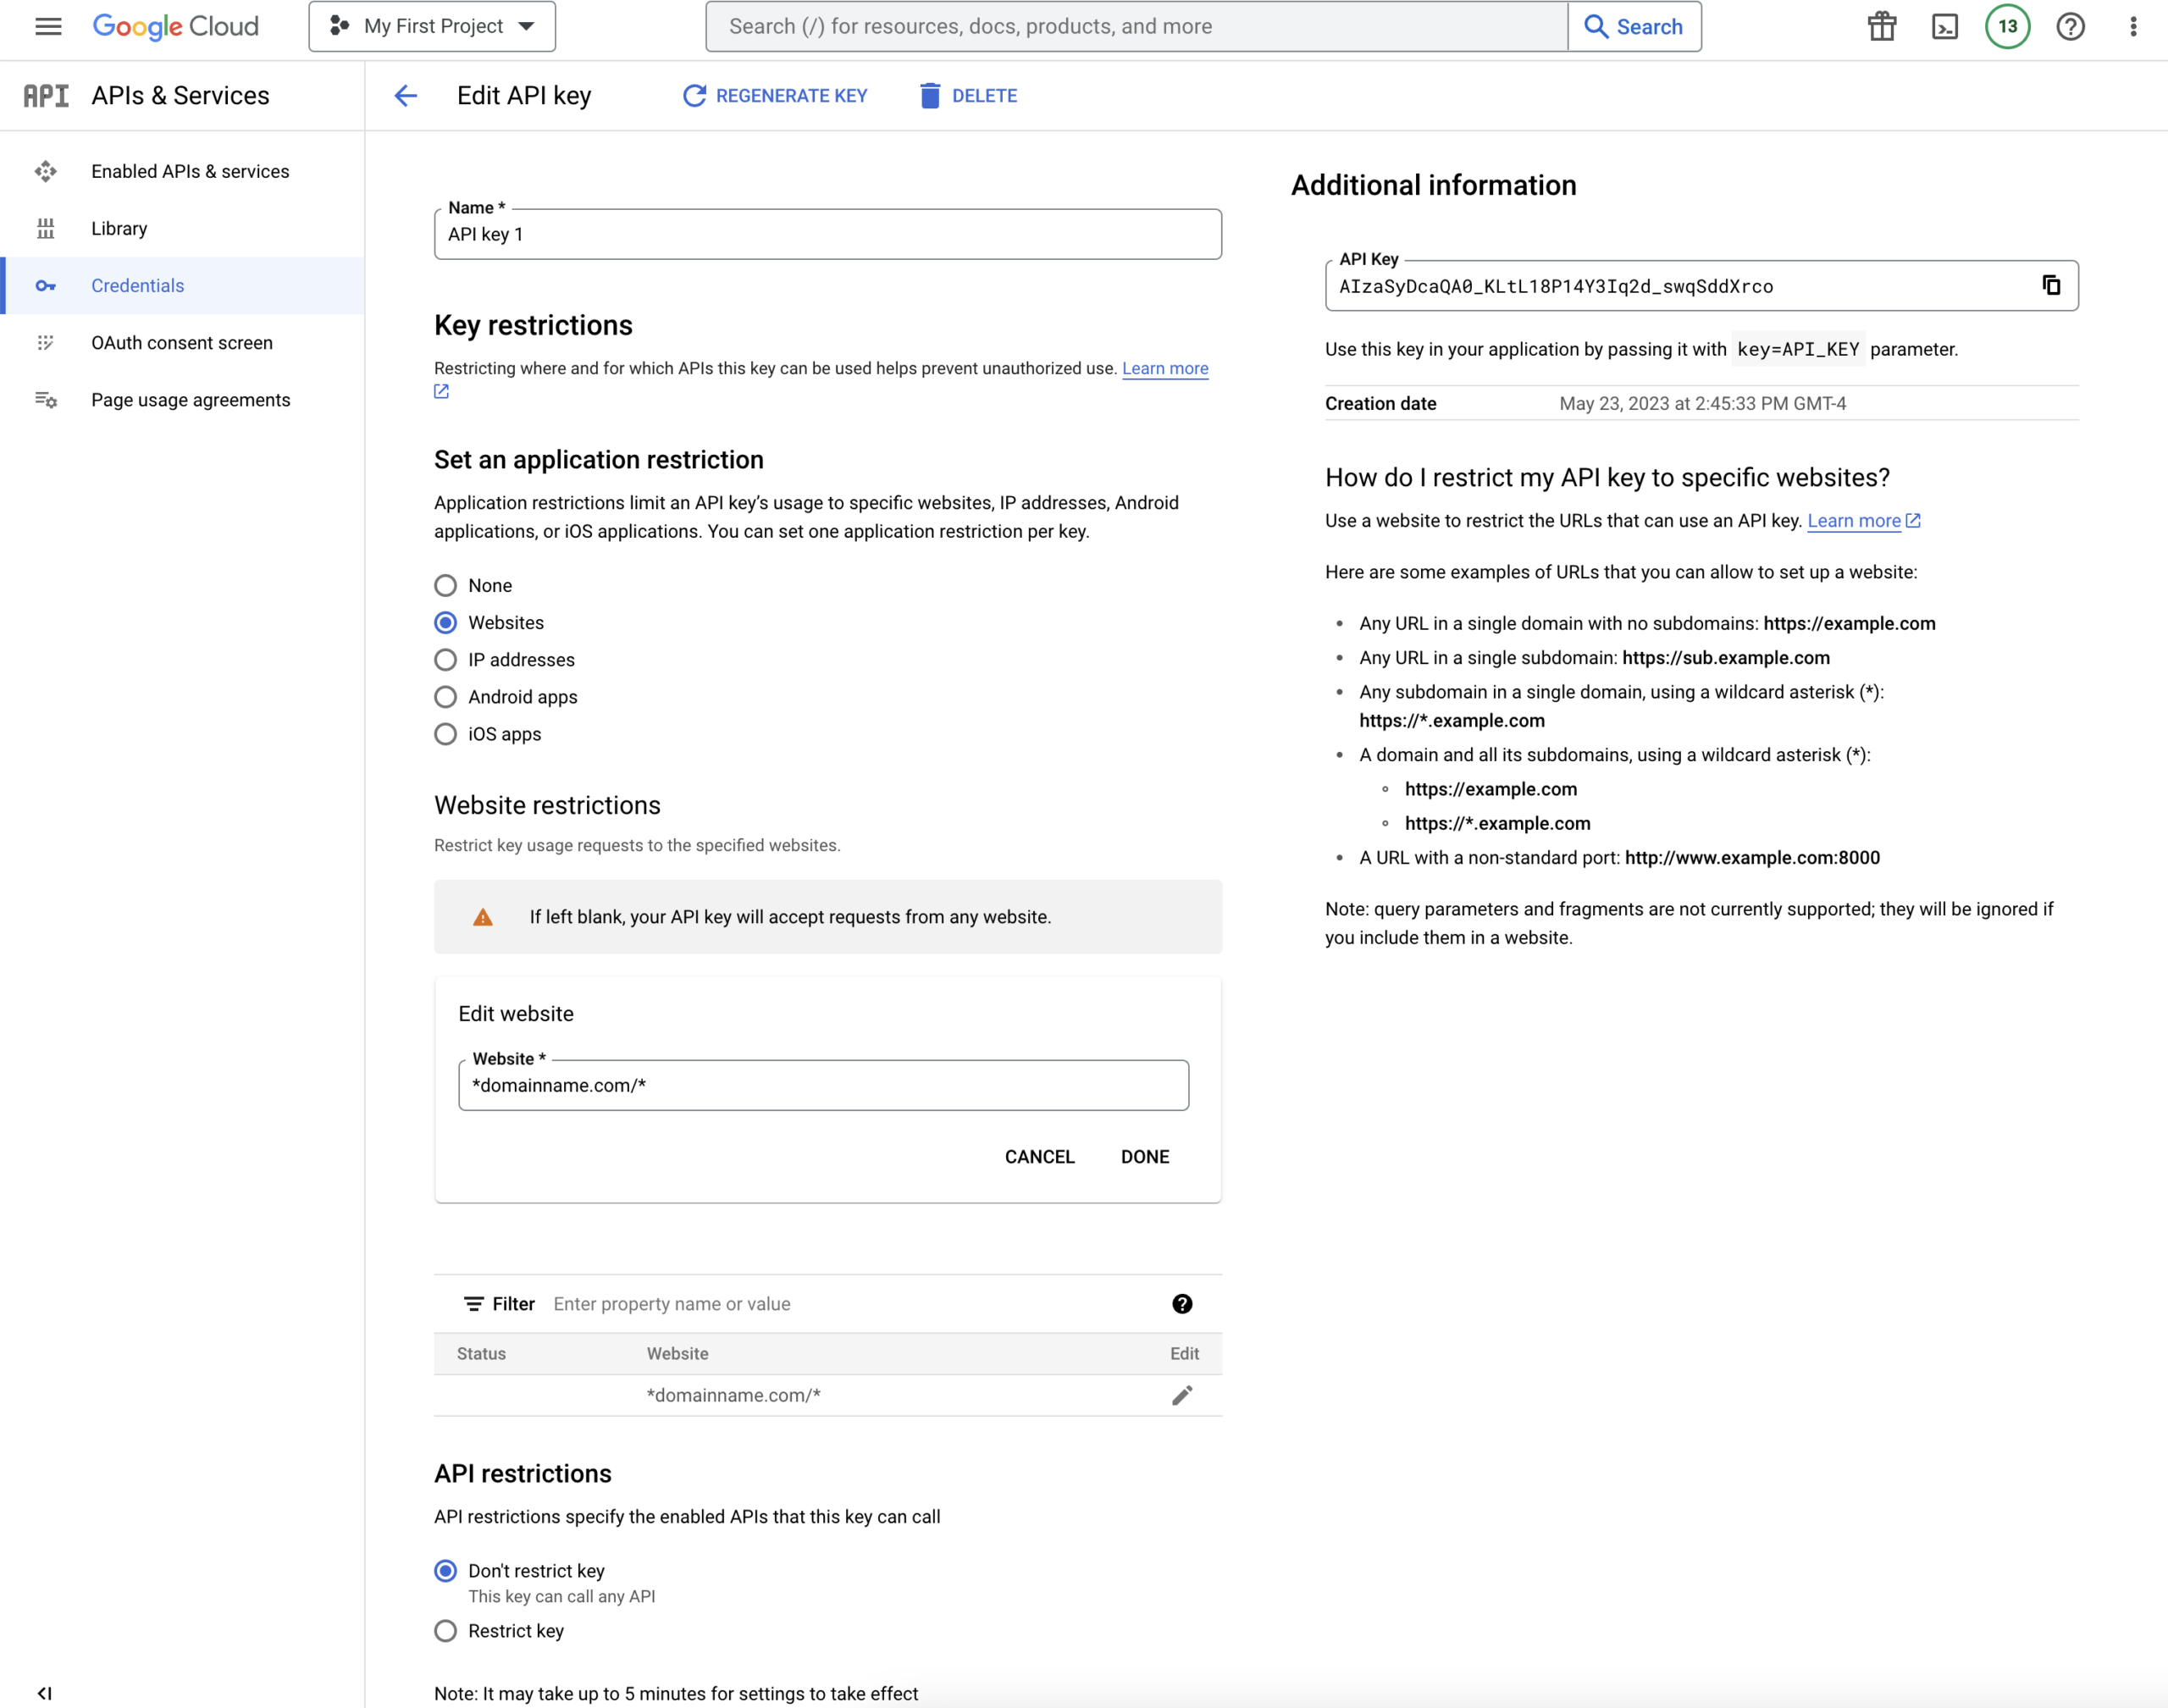
Click the +ADD button and type in your domain name. It’s best to format it as *mydomain.com/*, to ensure it’ll work on any page, folder, or subdomain as well.
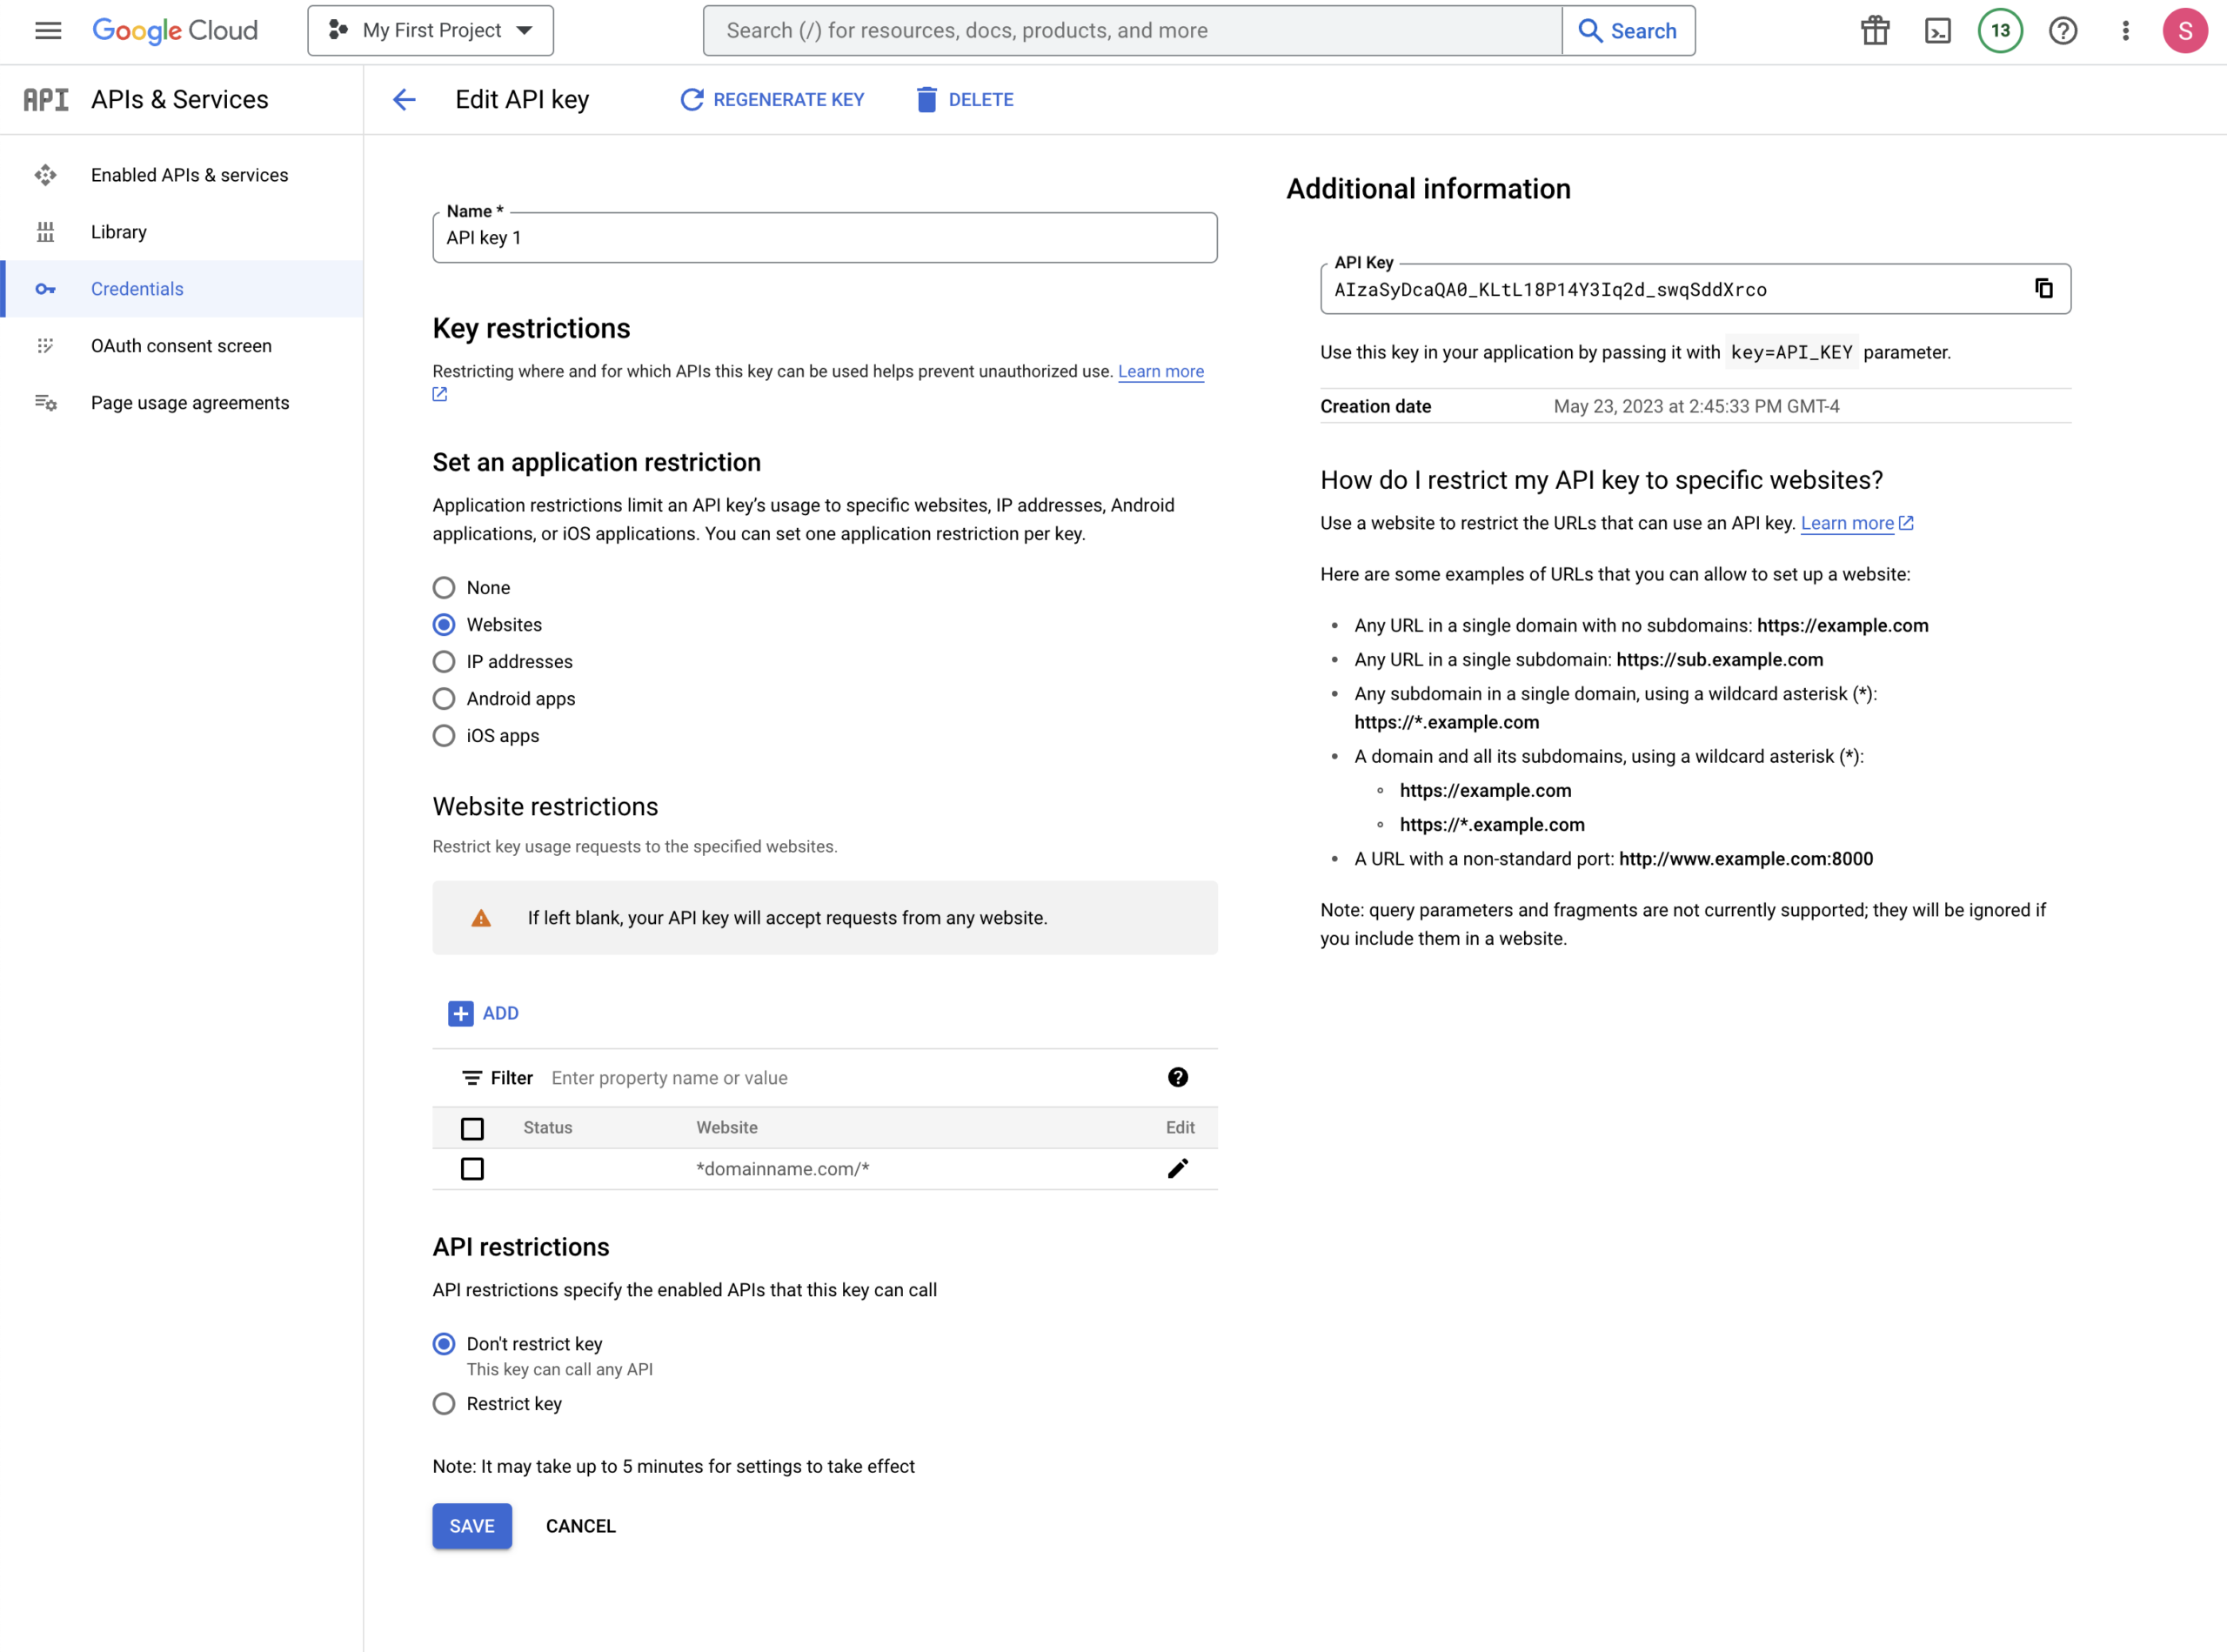
Click DONE and you should now see it saved in the list. Now just click the SAVE button at the bottom of the page, and your key is secure!

Step 5: Add the Google Maps APIs to your API key
Phew, we’re almost to the finish line! Since this API key can be used for a ton of different Google services, we’ll need to add the appropriate API libraries to load our maps.
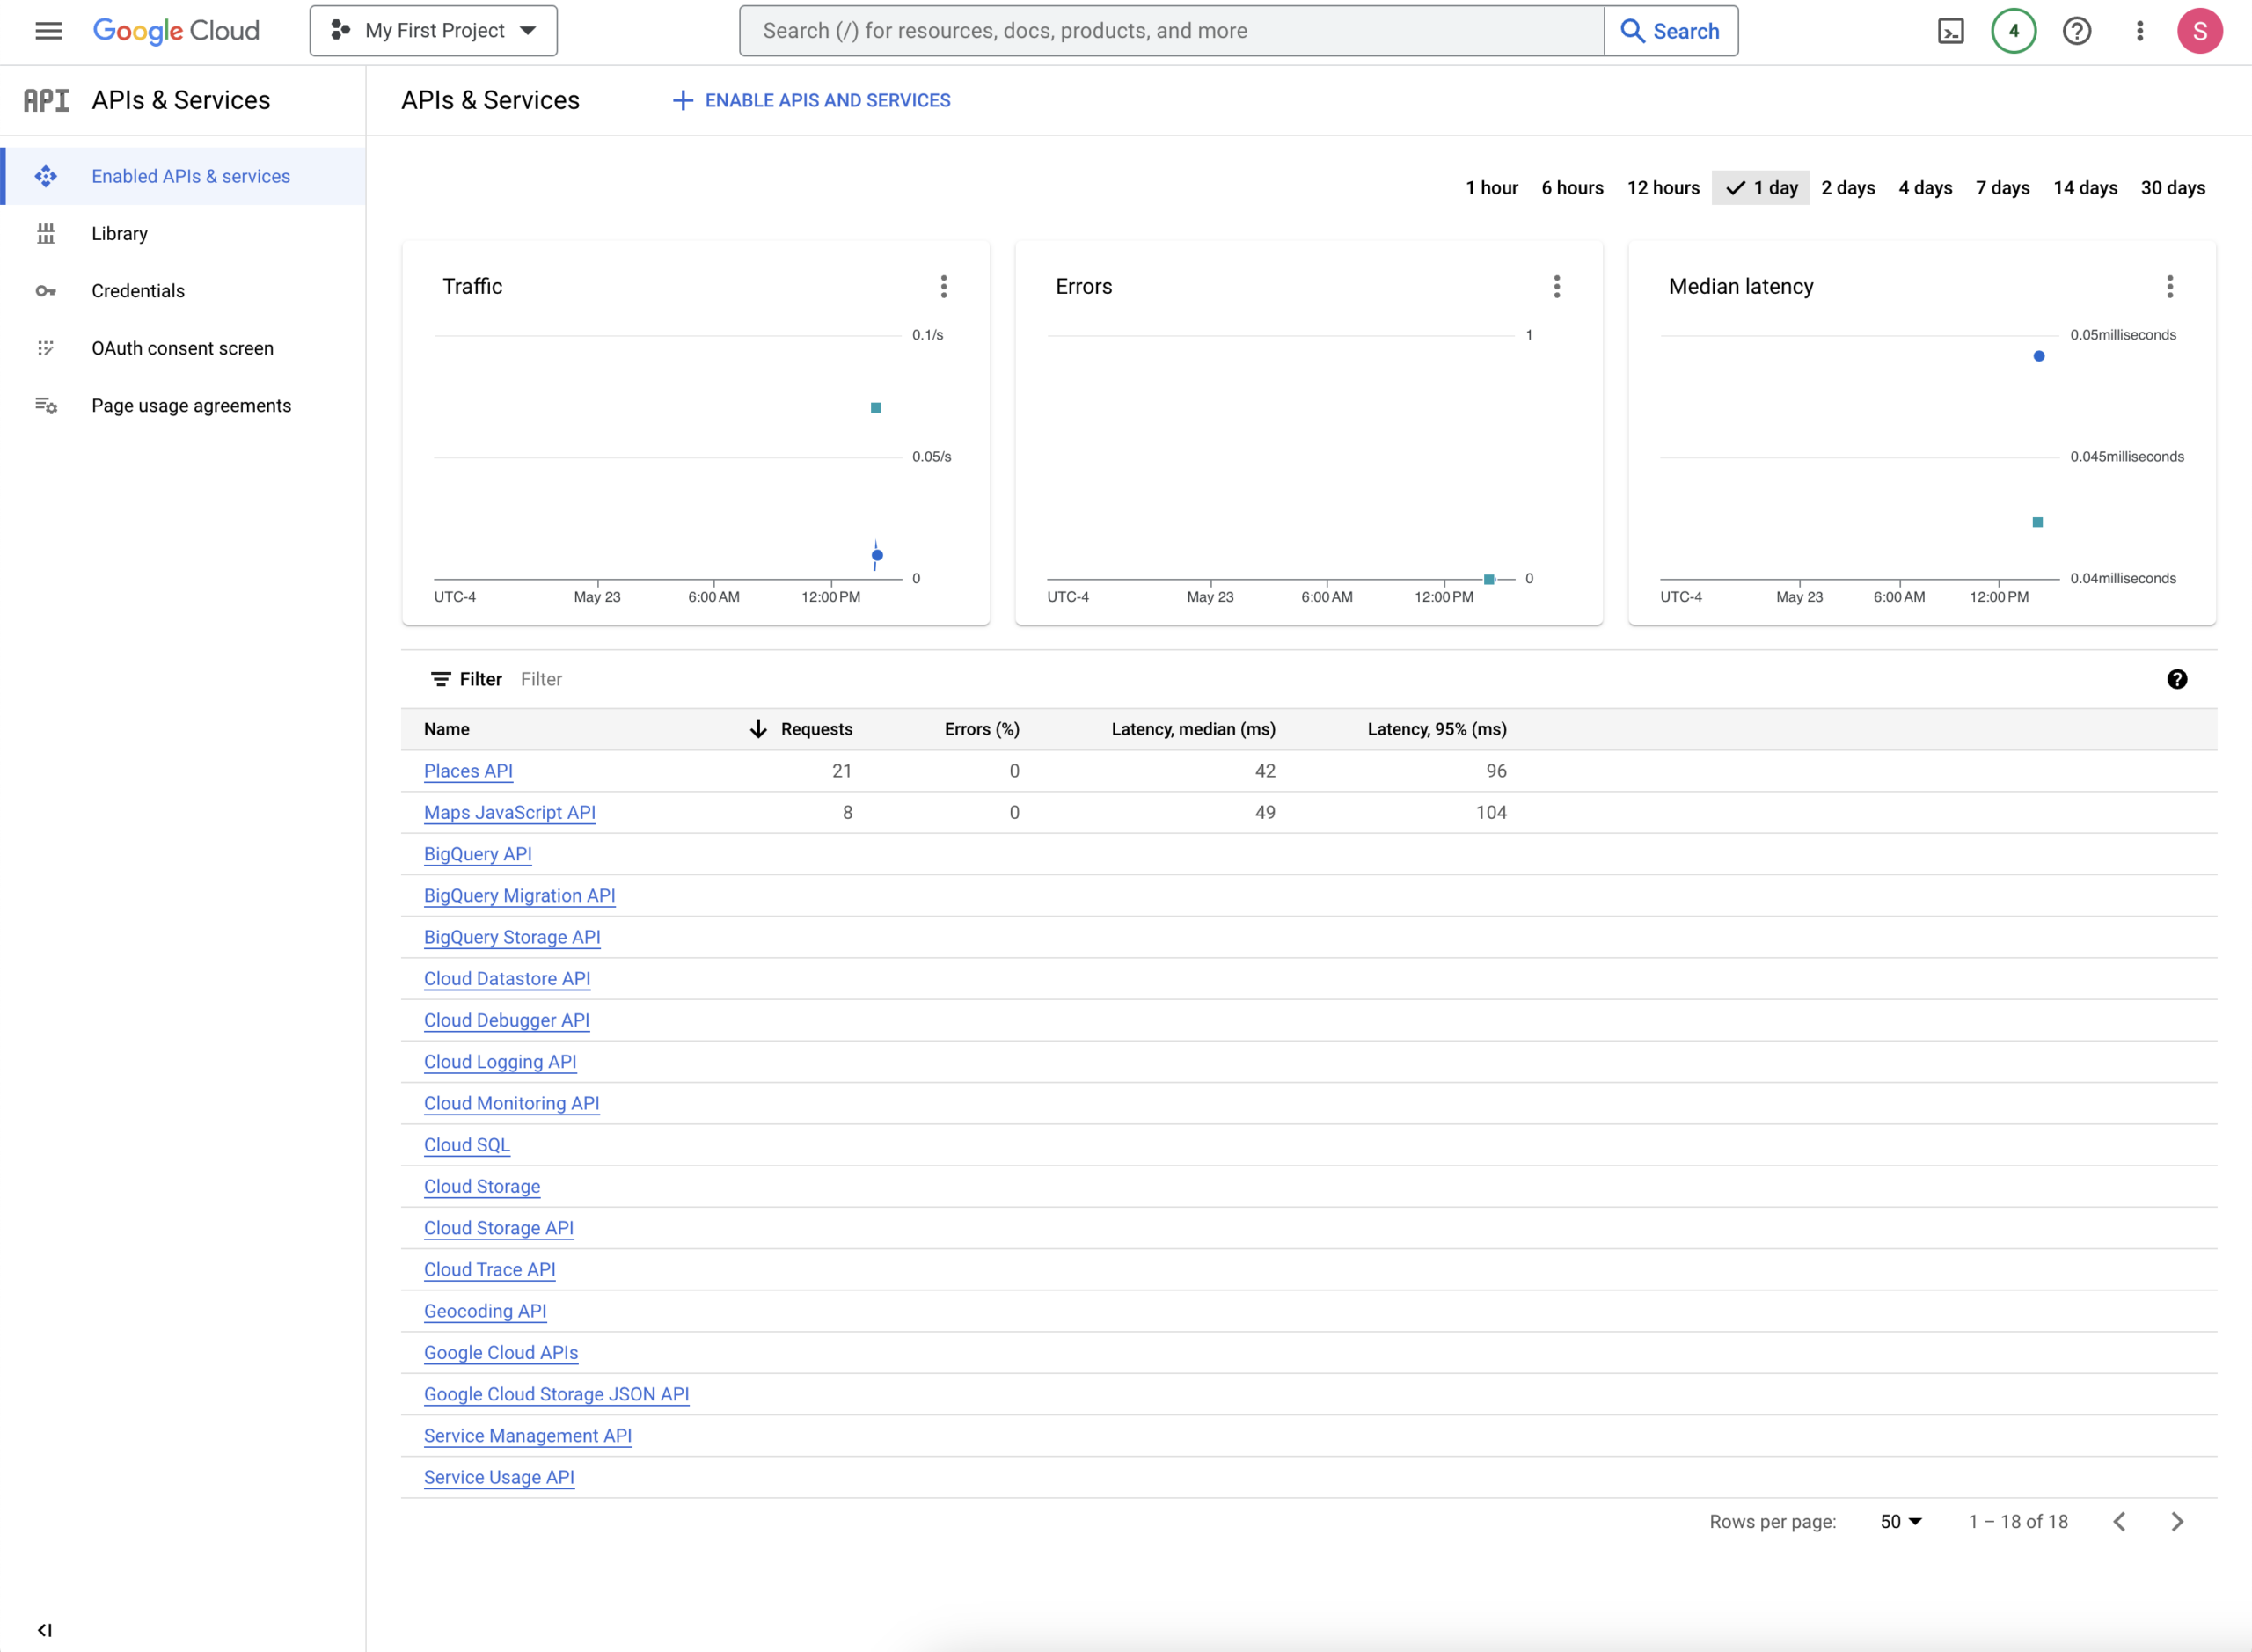
Click on the “Enabled APIs and services” link in the left hand menu to go back to the main API page.
Choose +ENABLE APIS AND SERVICES from the top menu in the middle of your screen.
This will take you to the API search page.
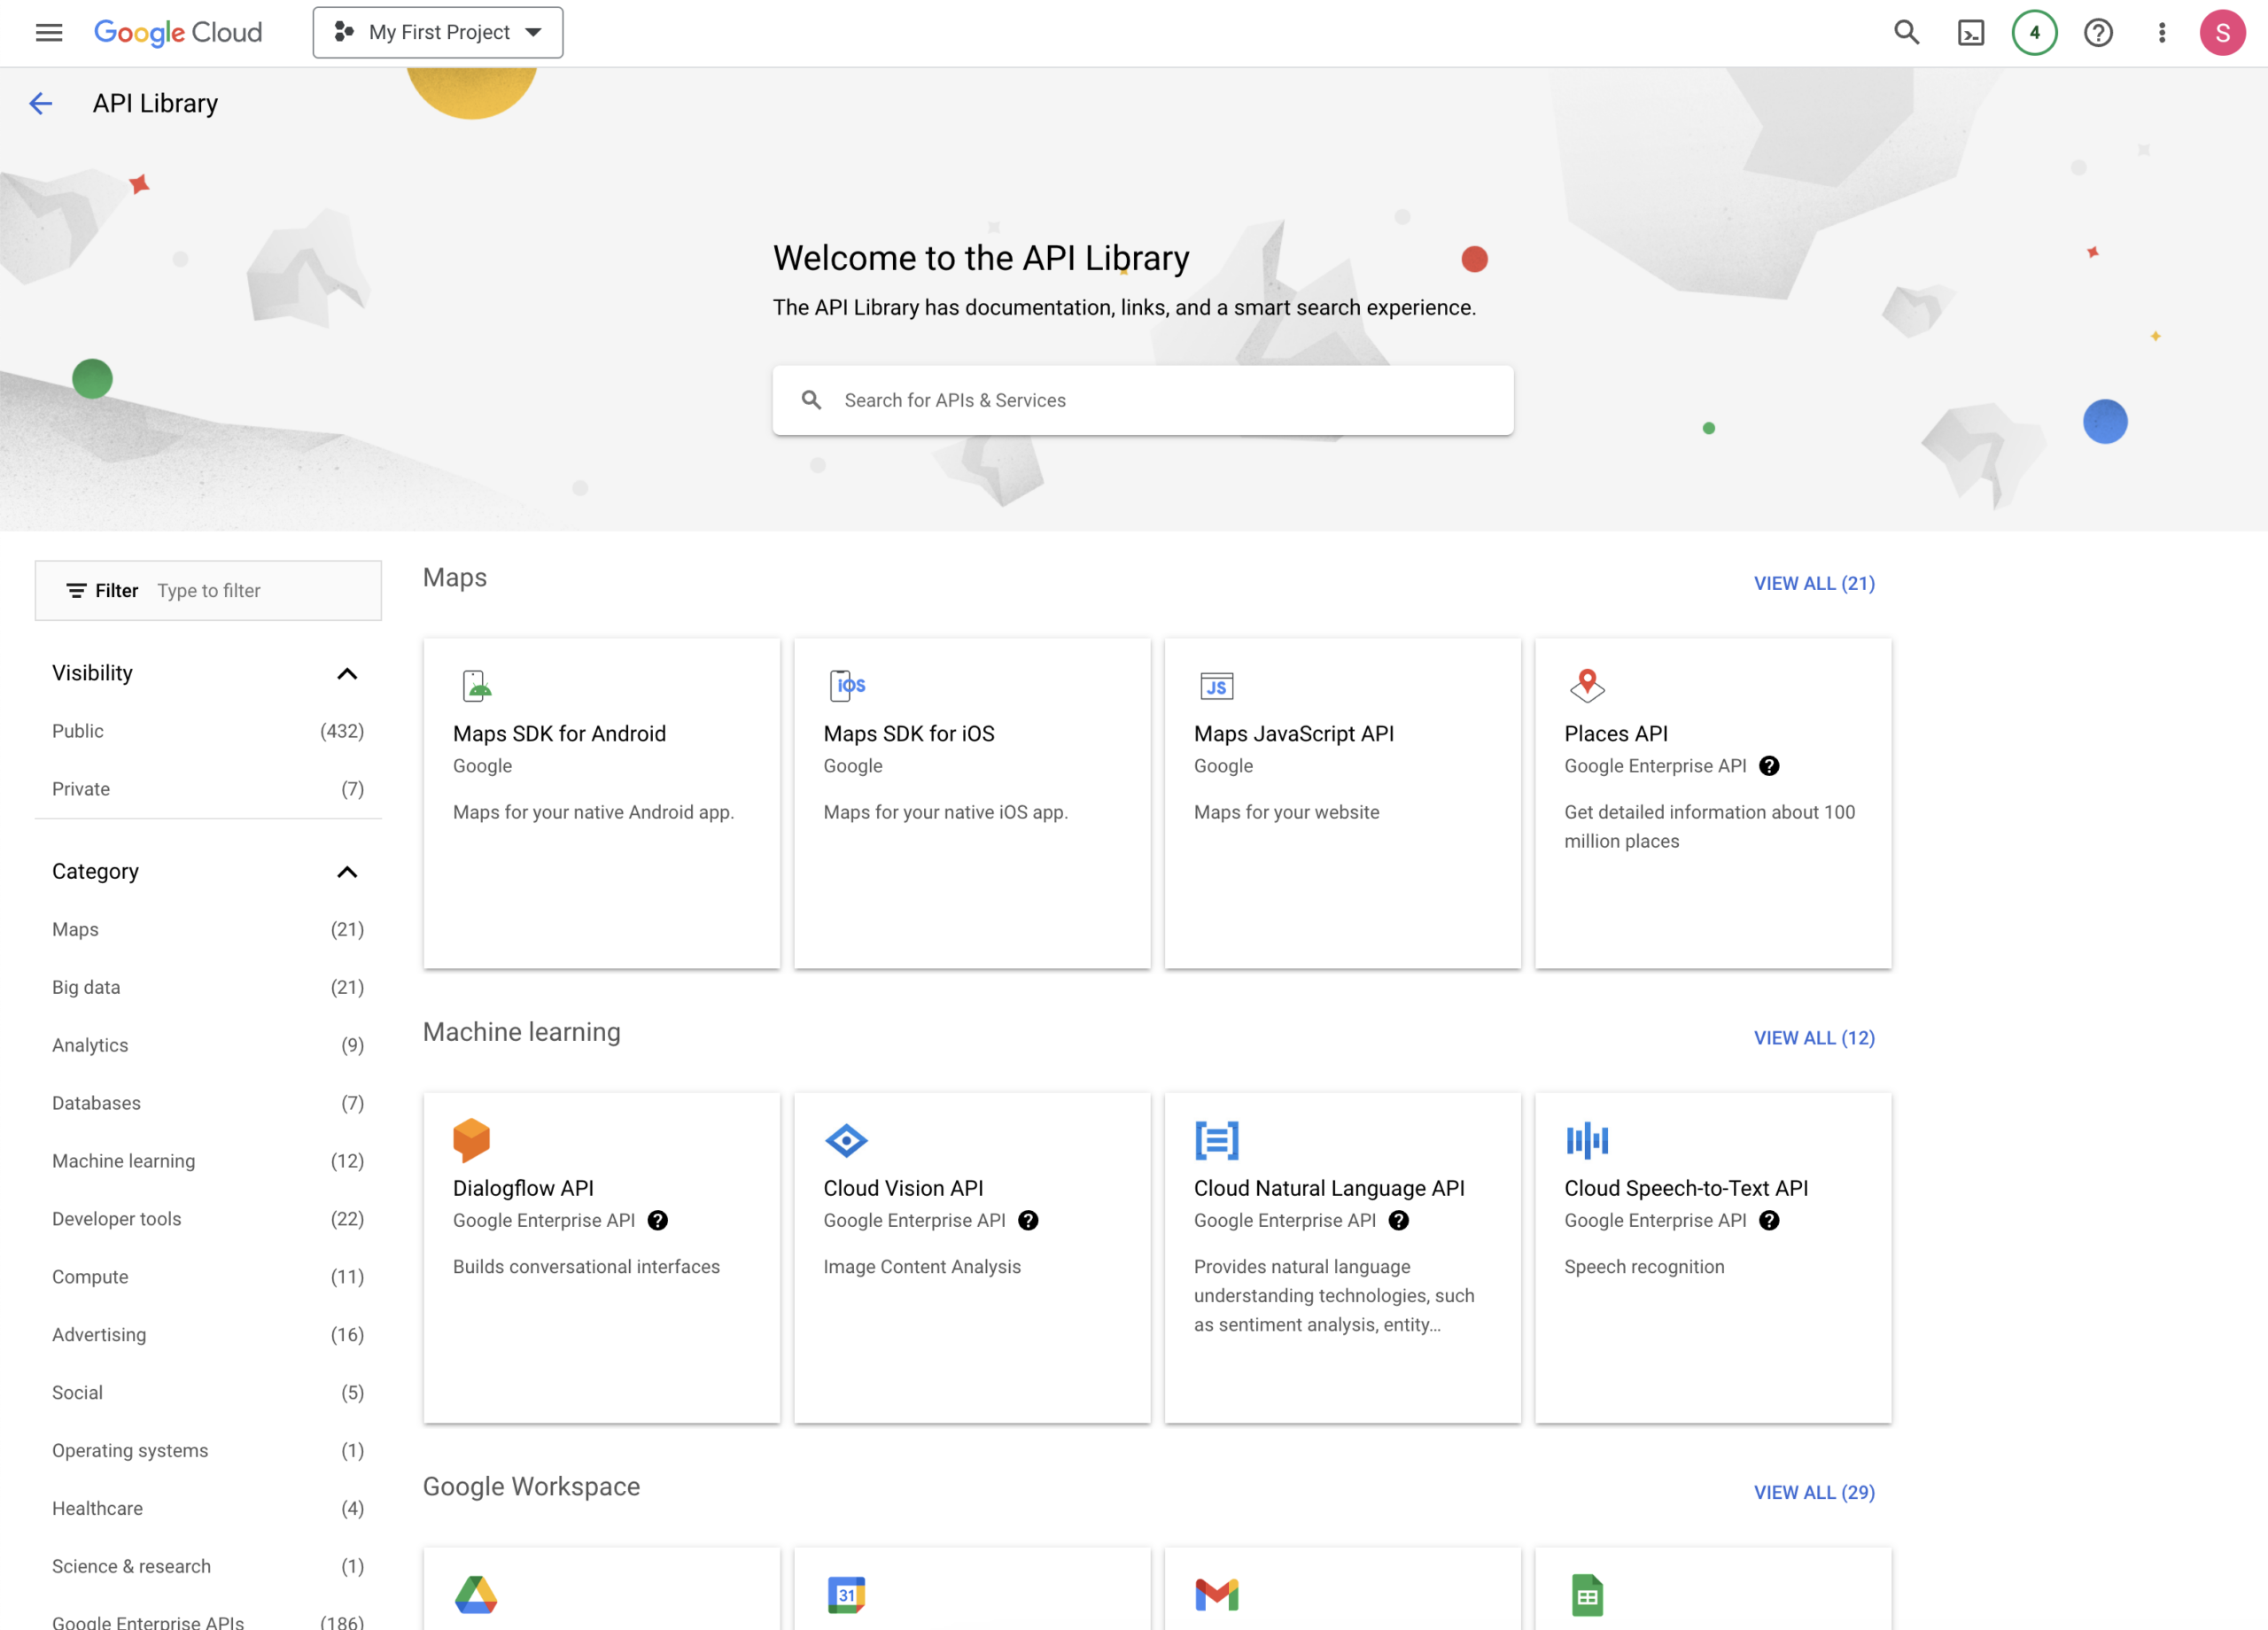
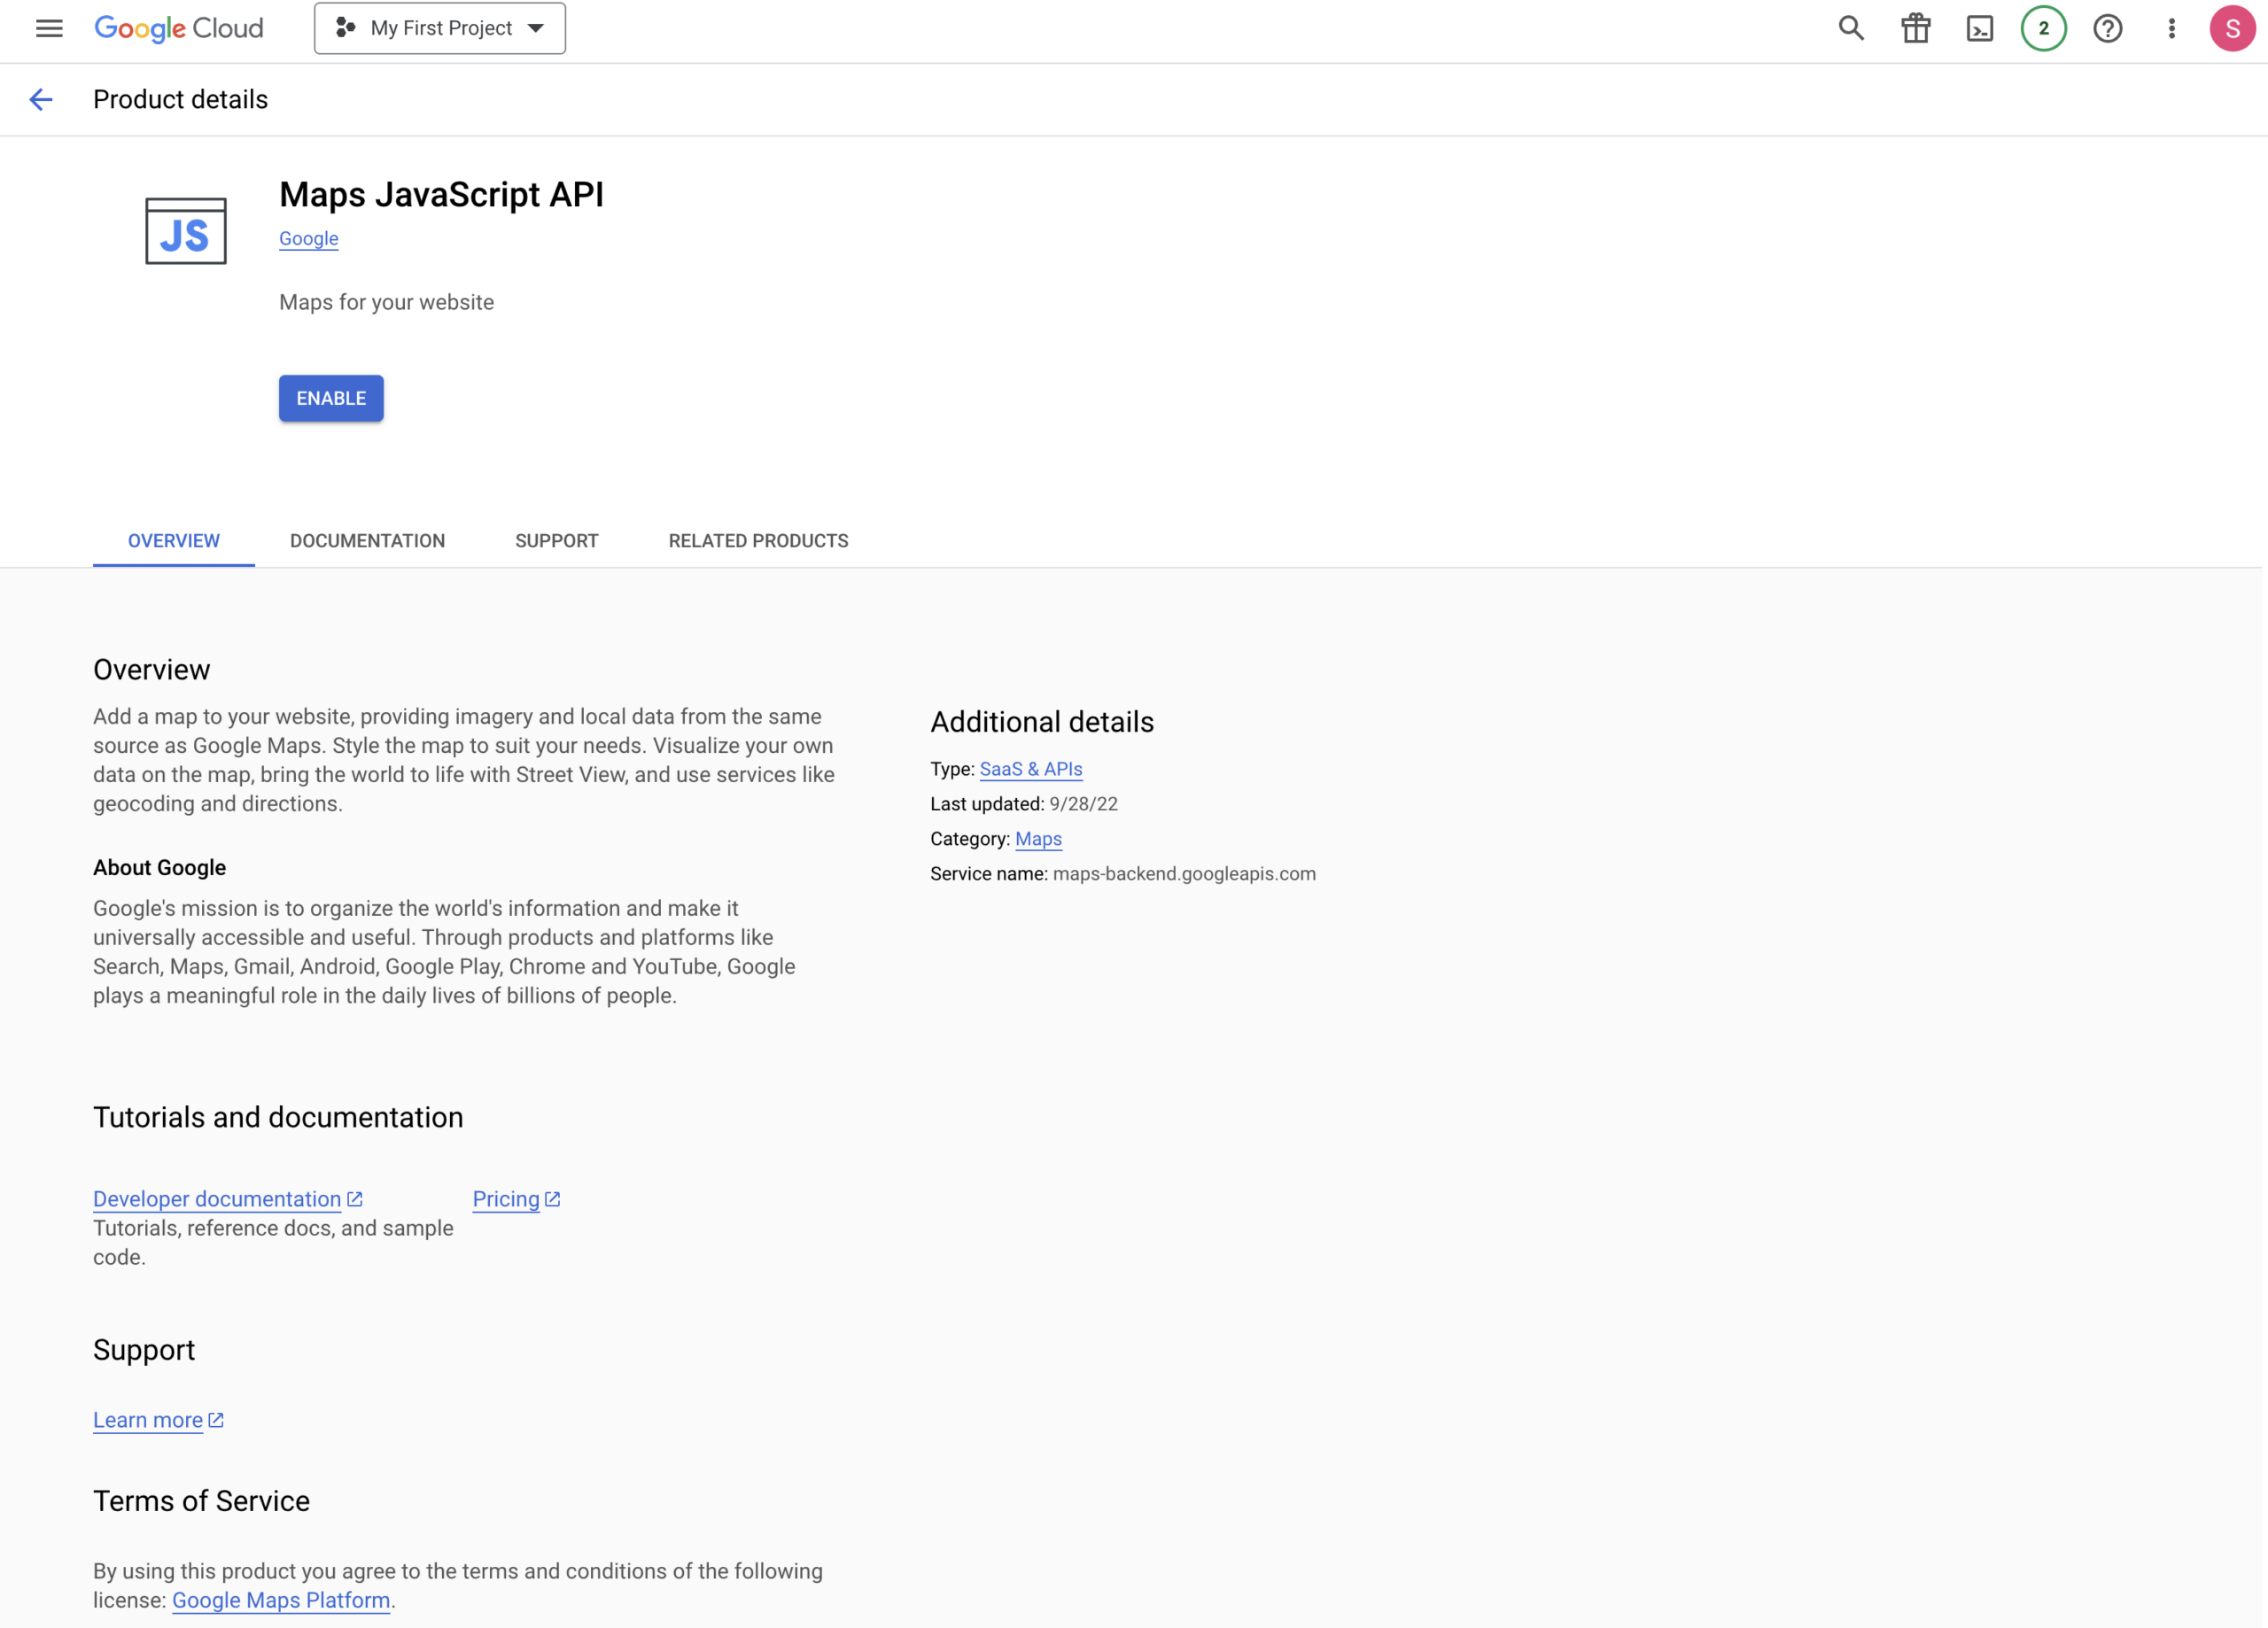
The first API we’ll add is the “Maps Javascript API”, which is the third item you’ll see in the list in the first row. Go ahead and select that, and then click on the ENABLE button on the detail page to turn it on.
You should be taken back to the APIs page after enabling the Maps API. Here, you should see “Maps Javascript API” under your Enabled API’s list, and then some “Additional APIs” listed beneath. Click on the “Places API” to enable this one as well.
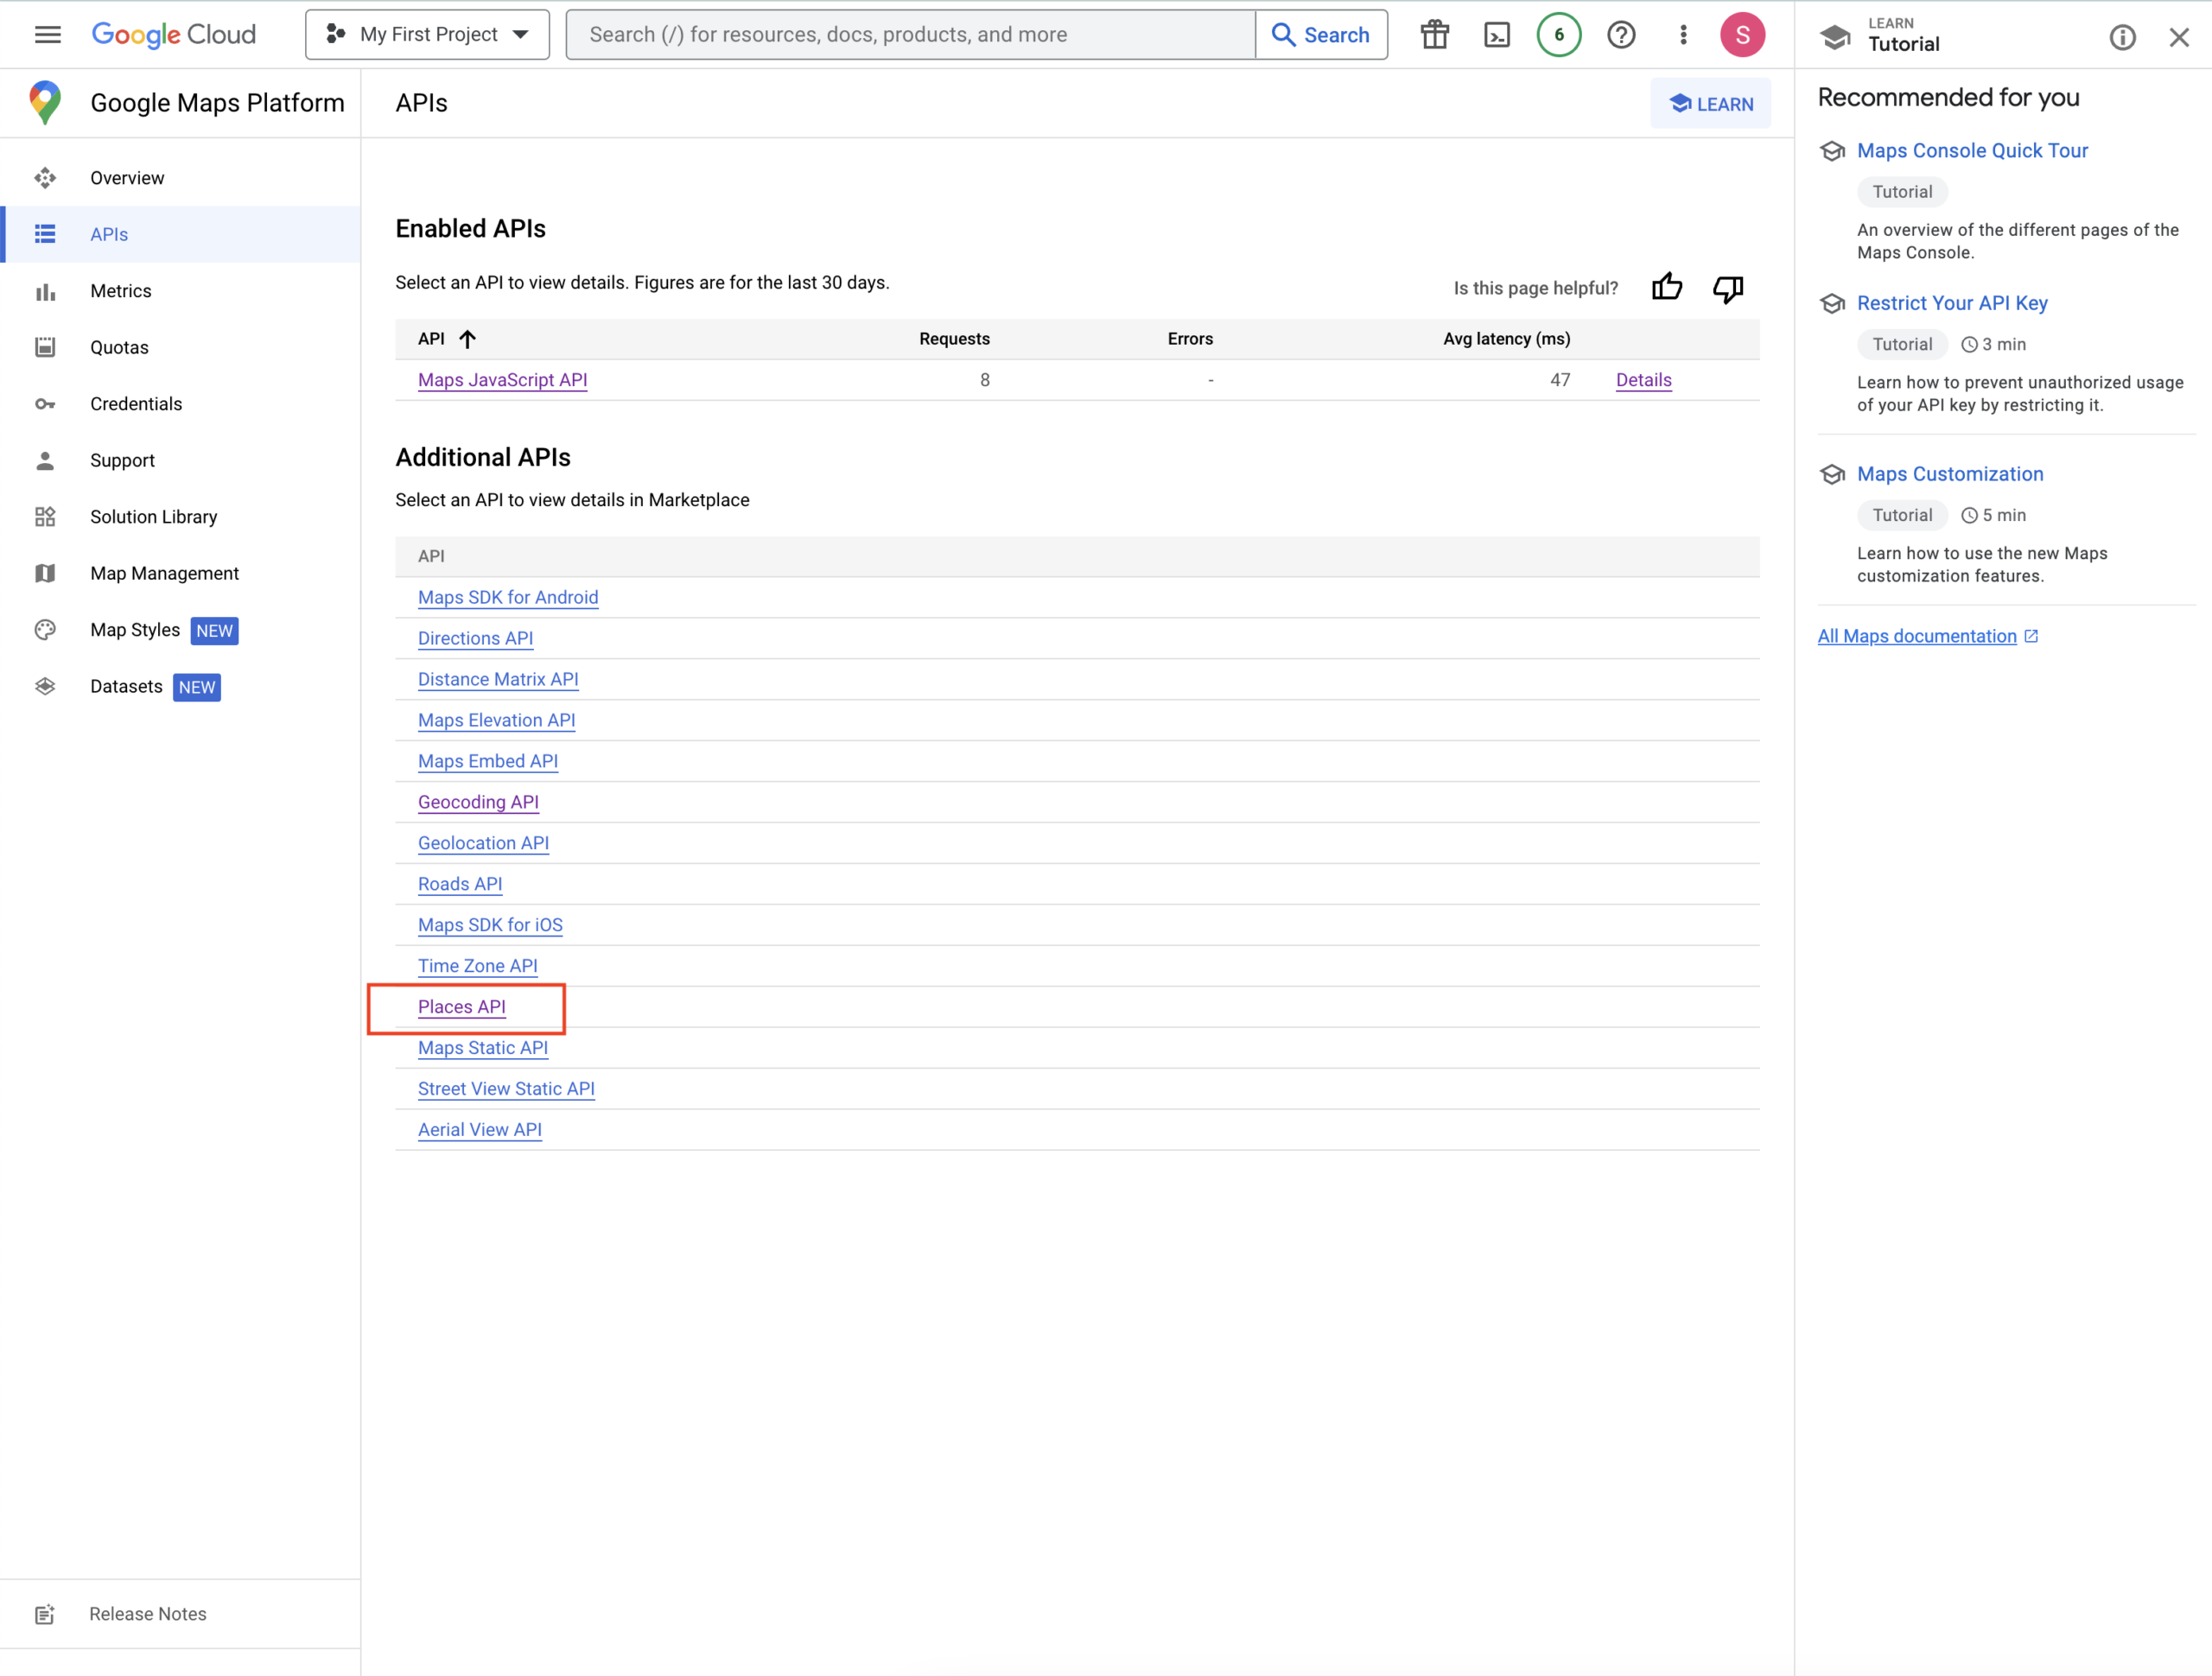
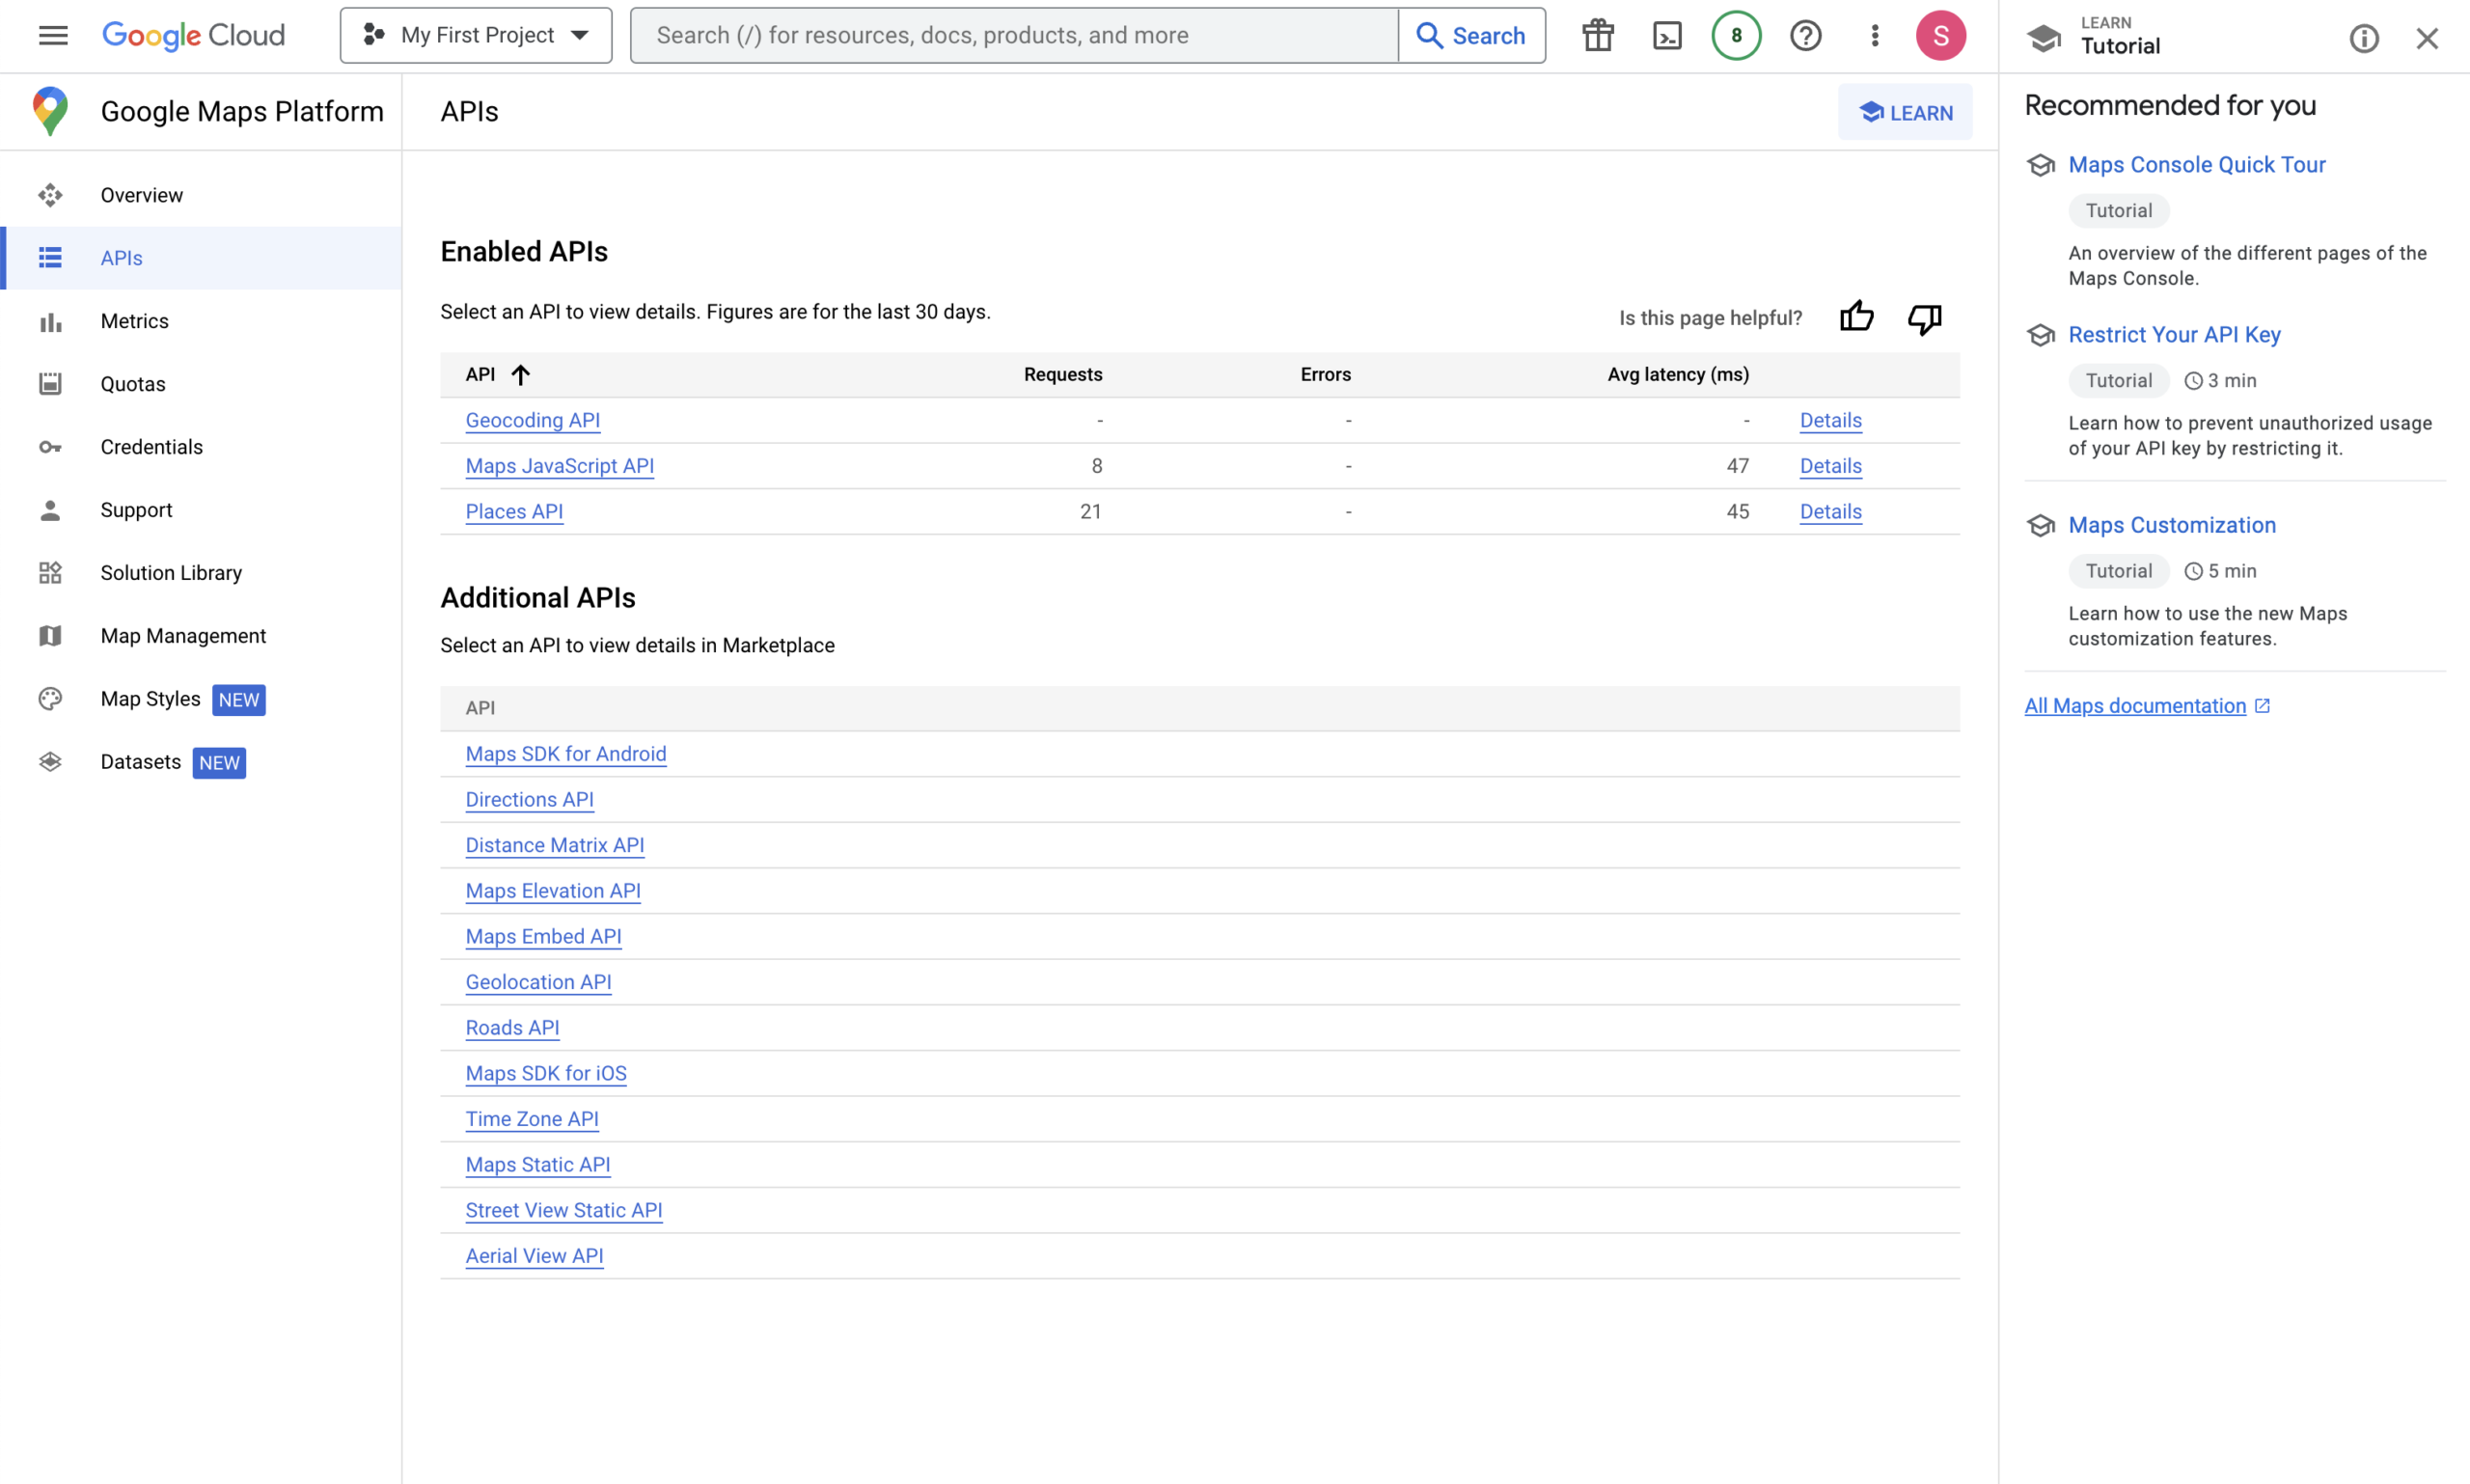
Follow the same few last steps above to enable the “Geocoding API” in the same list. You should now see 3 different APIs in your “Enabled APIs” list.
That’s it! Your API is now ready to use. Make sure you’ve sent your key to Simpatico, and we’ll set up the code from there!