 hi, i'm
Option 1: Point the domain using WP Engine’s fancy expedited process.
With new features they’ve implemented, WP Engine makes it incredibly easy to connect your domain to your WP Engine install.
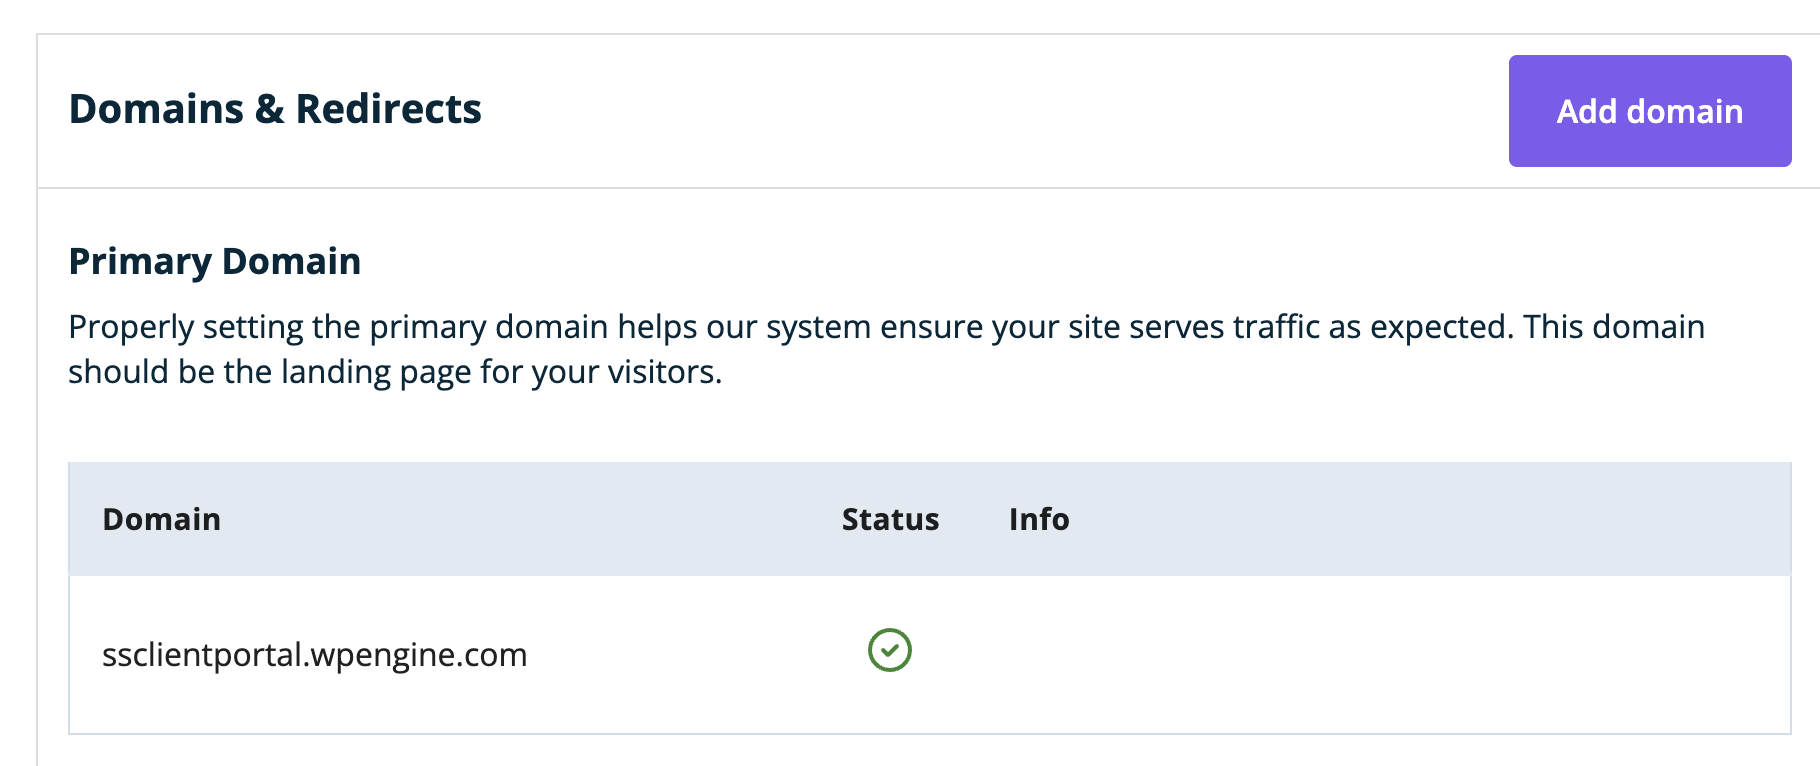
From the “Domains” tab inside your build, you’ll see the below. Click on “Add domain.”
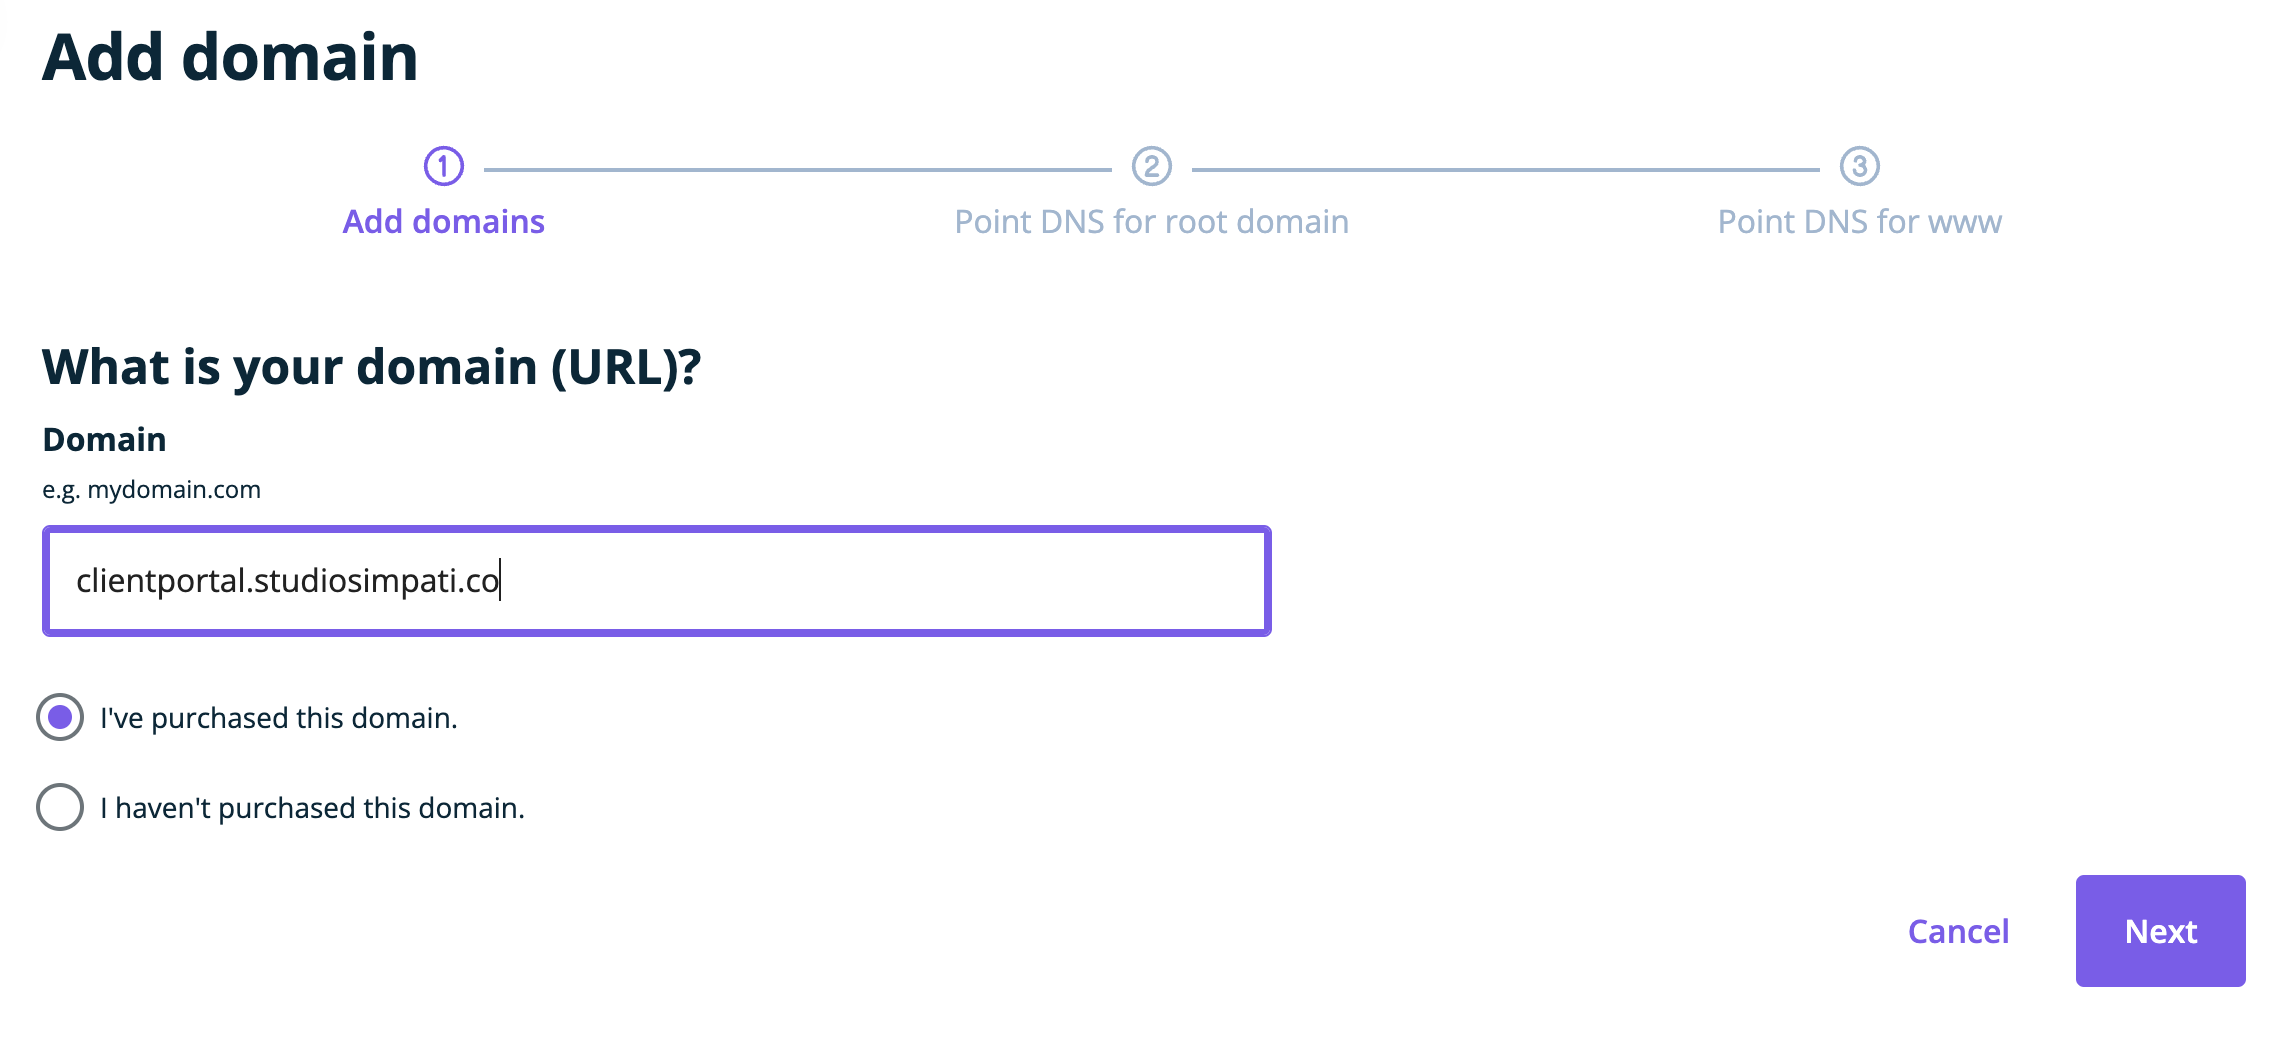
From here, you can type in the domain that you want to point to your particular chosen install. Once you’ve typed in your domain, leave “I’ve purchased the domain” selected and click “Next.”
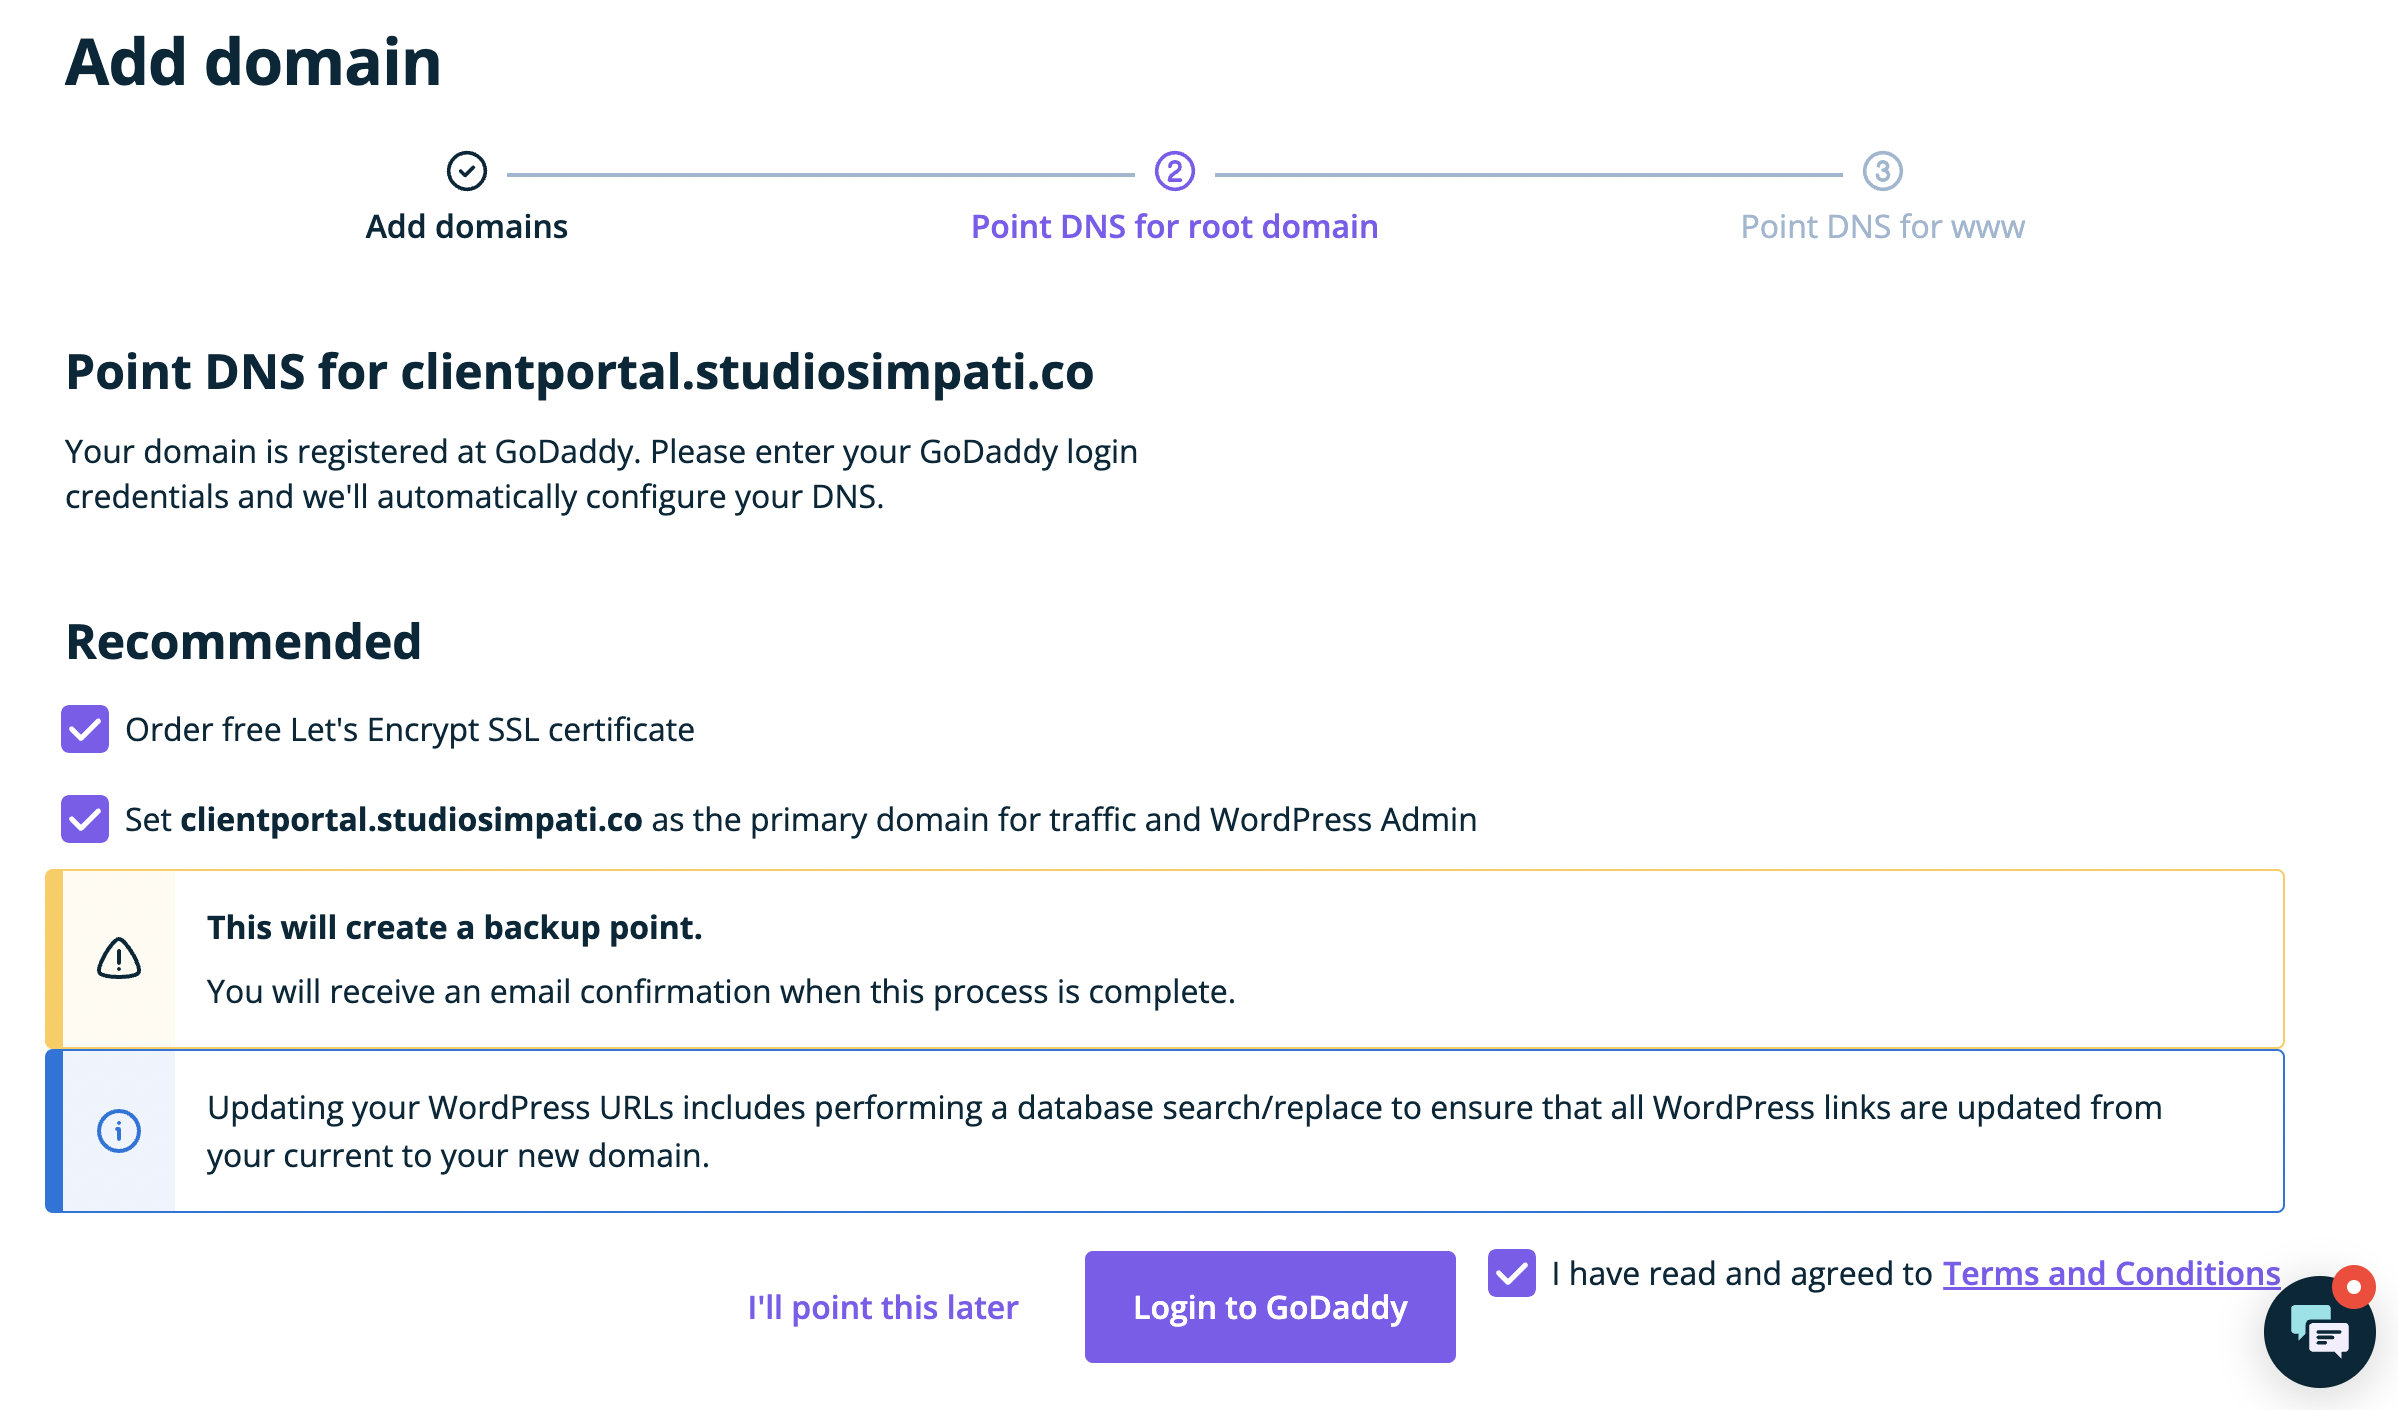
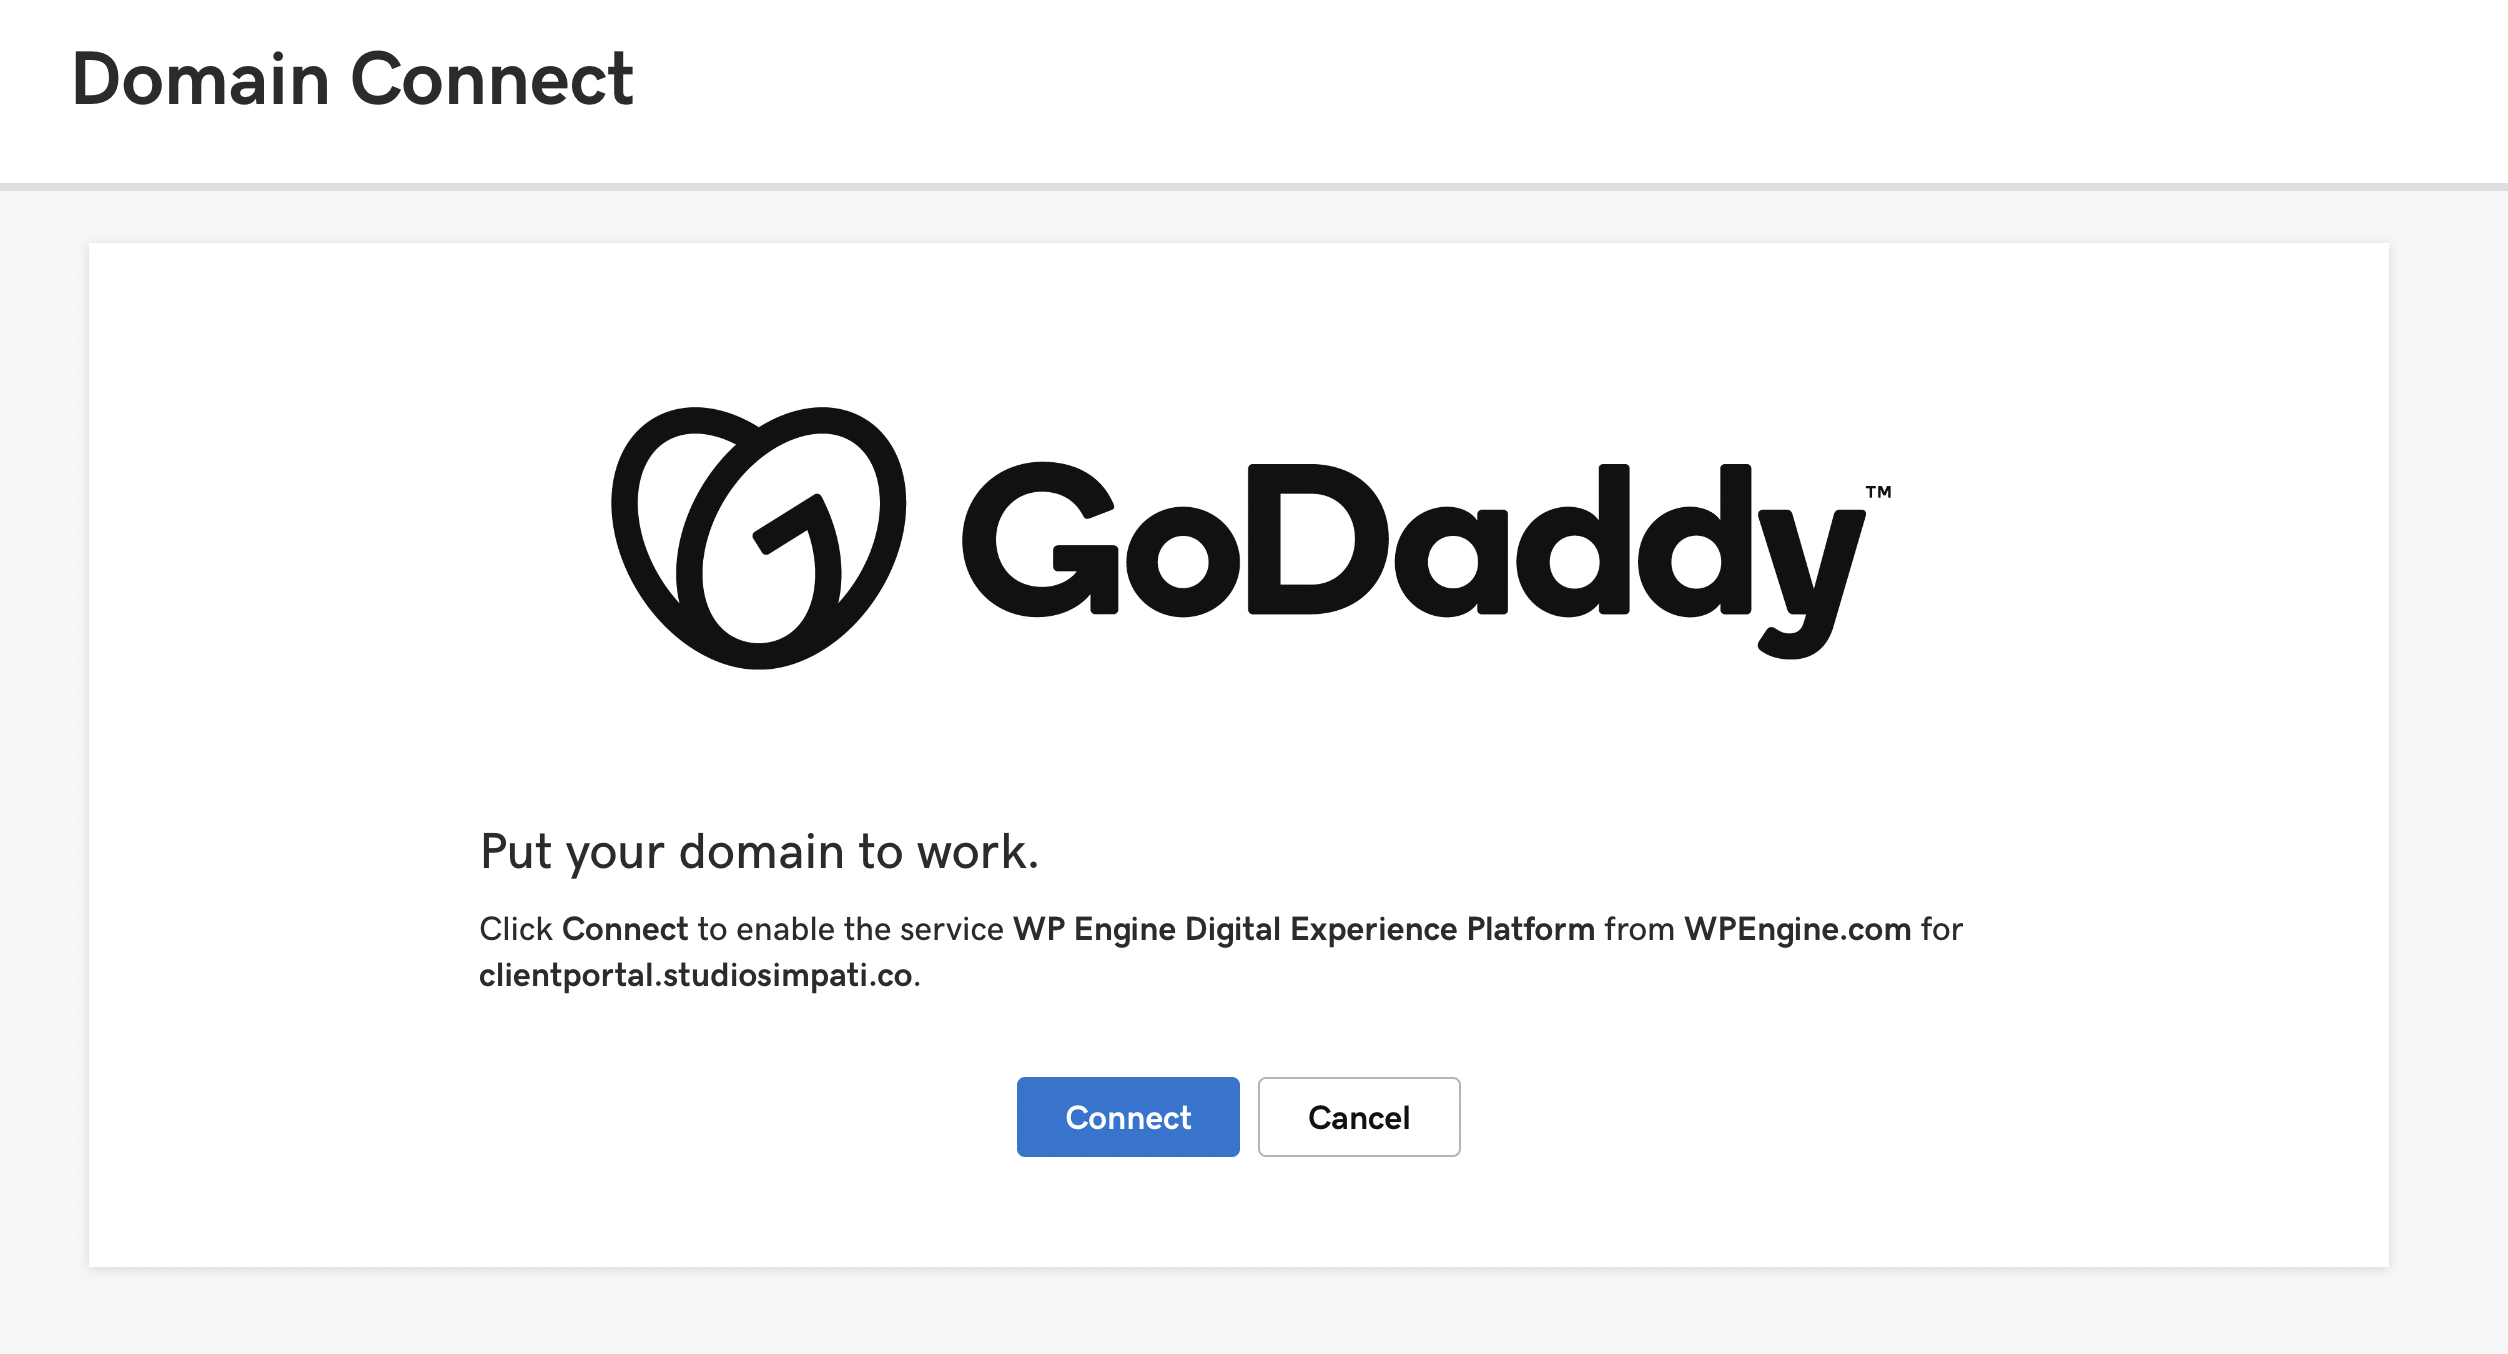
This is where things get fancy. Keep the default boxes checked, and simply click on the “Login to Godaddy” button. WP Engine will helpfully login to your GoDaddy account and do everything it needs to do to, including:
- Point the domain within GoDaddy to WP Engine
- Find and replace your database with the new URL
- Set your primary domain in WP Engine correctly
Voila! You’re all set. Note that it may take a little bit for the SSL certs to be ordered and installed, but you’ll receive an email notification when all is complete.
As always, if anything goes wrong, WP Engine’s amazing 24/7 livechat help is available to help debug anything that went awry along the way.
Option 2: Login to Godaddy and use the “forwarding” feature.
When you hit the welcome screen, you will be greeted with a list of all your domains.
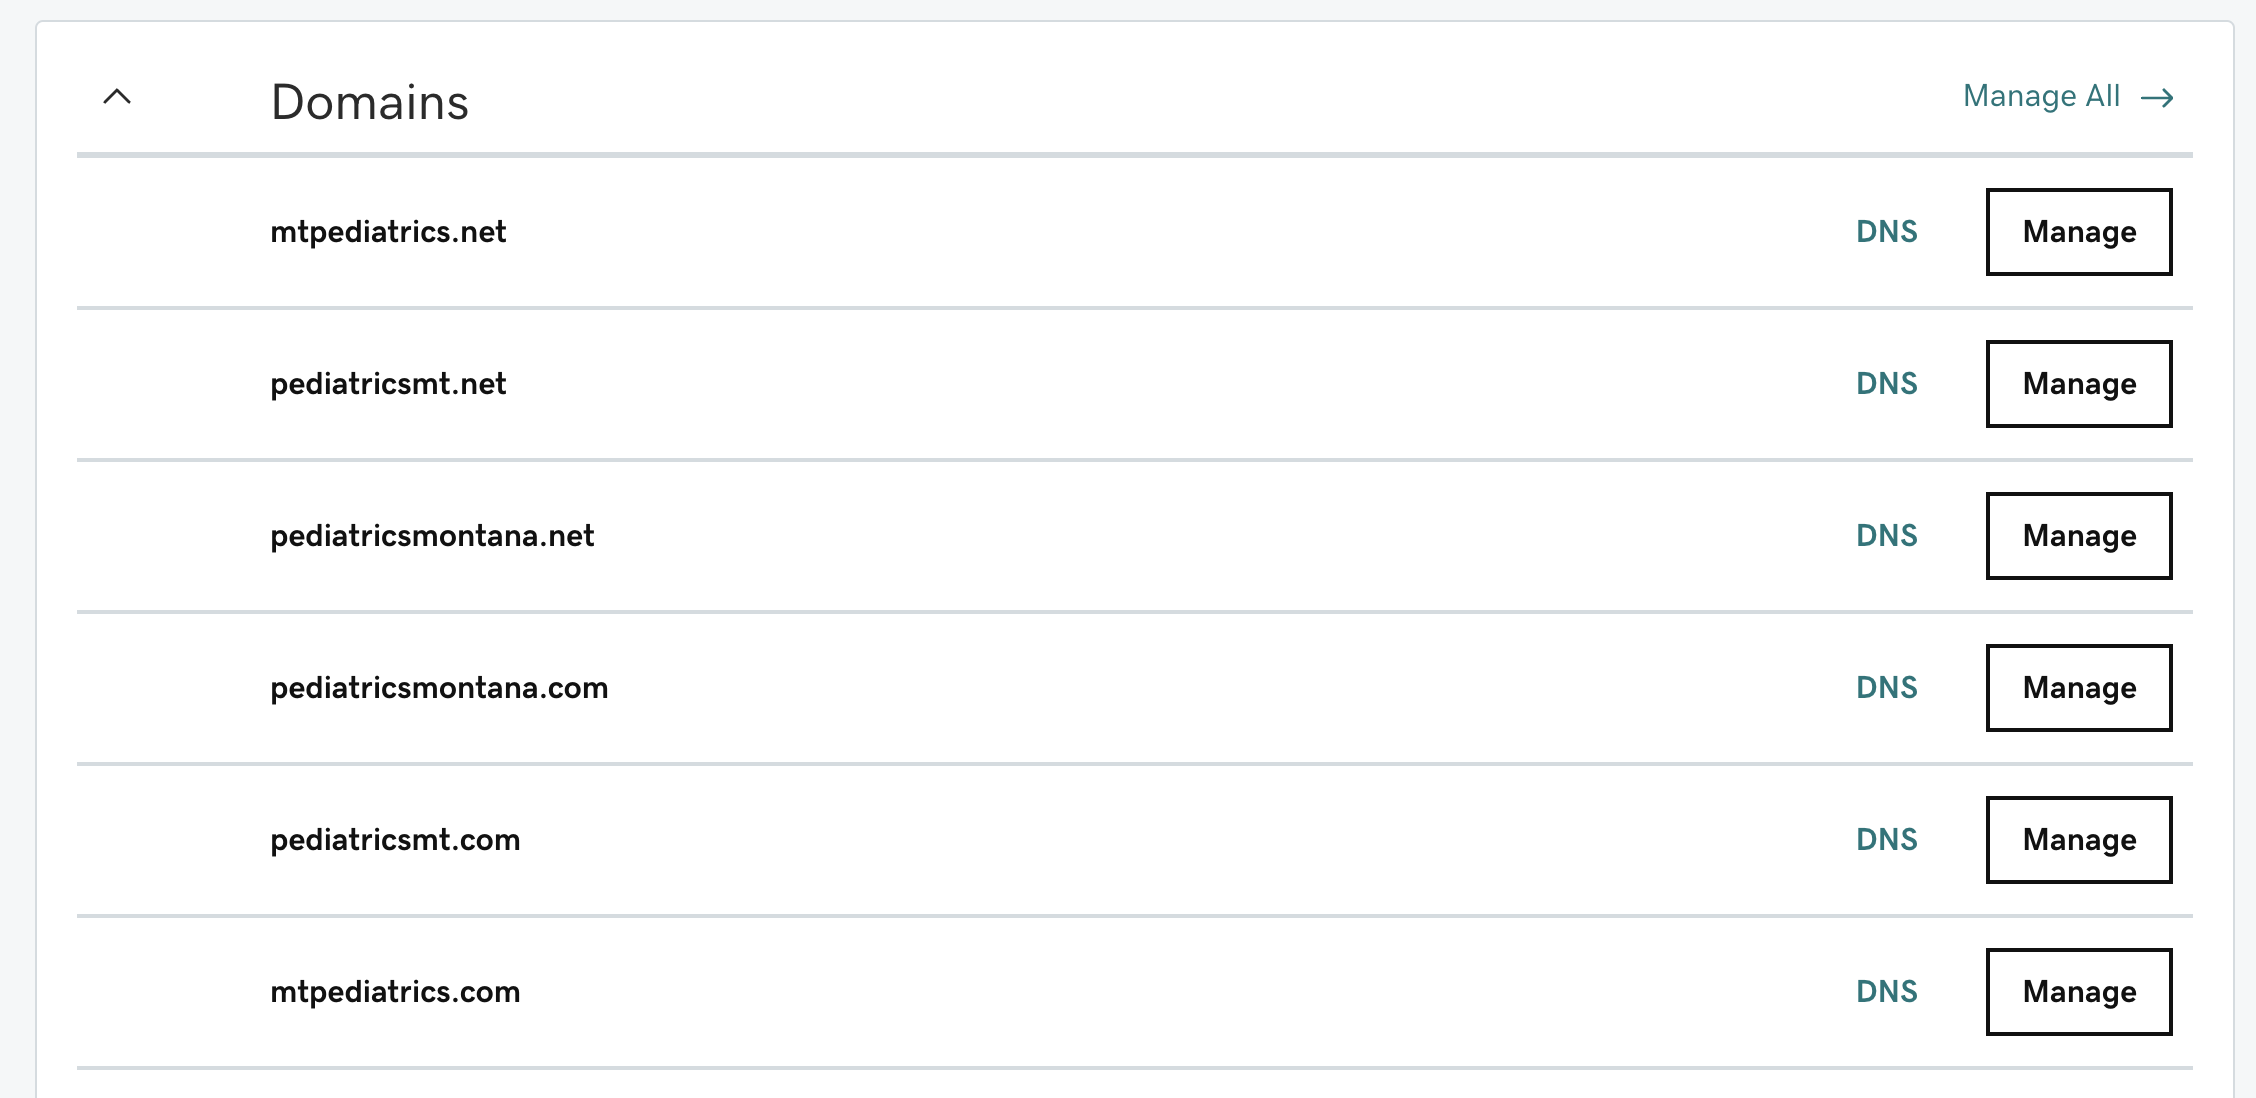
Click on “DNS” next to the domain that you want to point.
If you’re looking to merely redirect users when they type in your domain, you can use the domain forwarding option. (Note that this approach will mean the user types in the domain, and then sees the domain change in the browser to the domain to which you have forwarded to.)
Scroll down to the “Forwarding” section on the page and click “Add forwarding.”
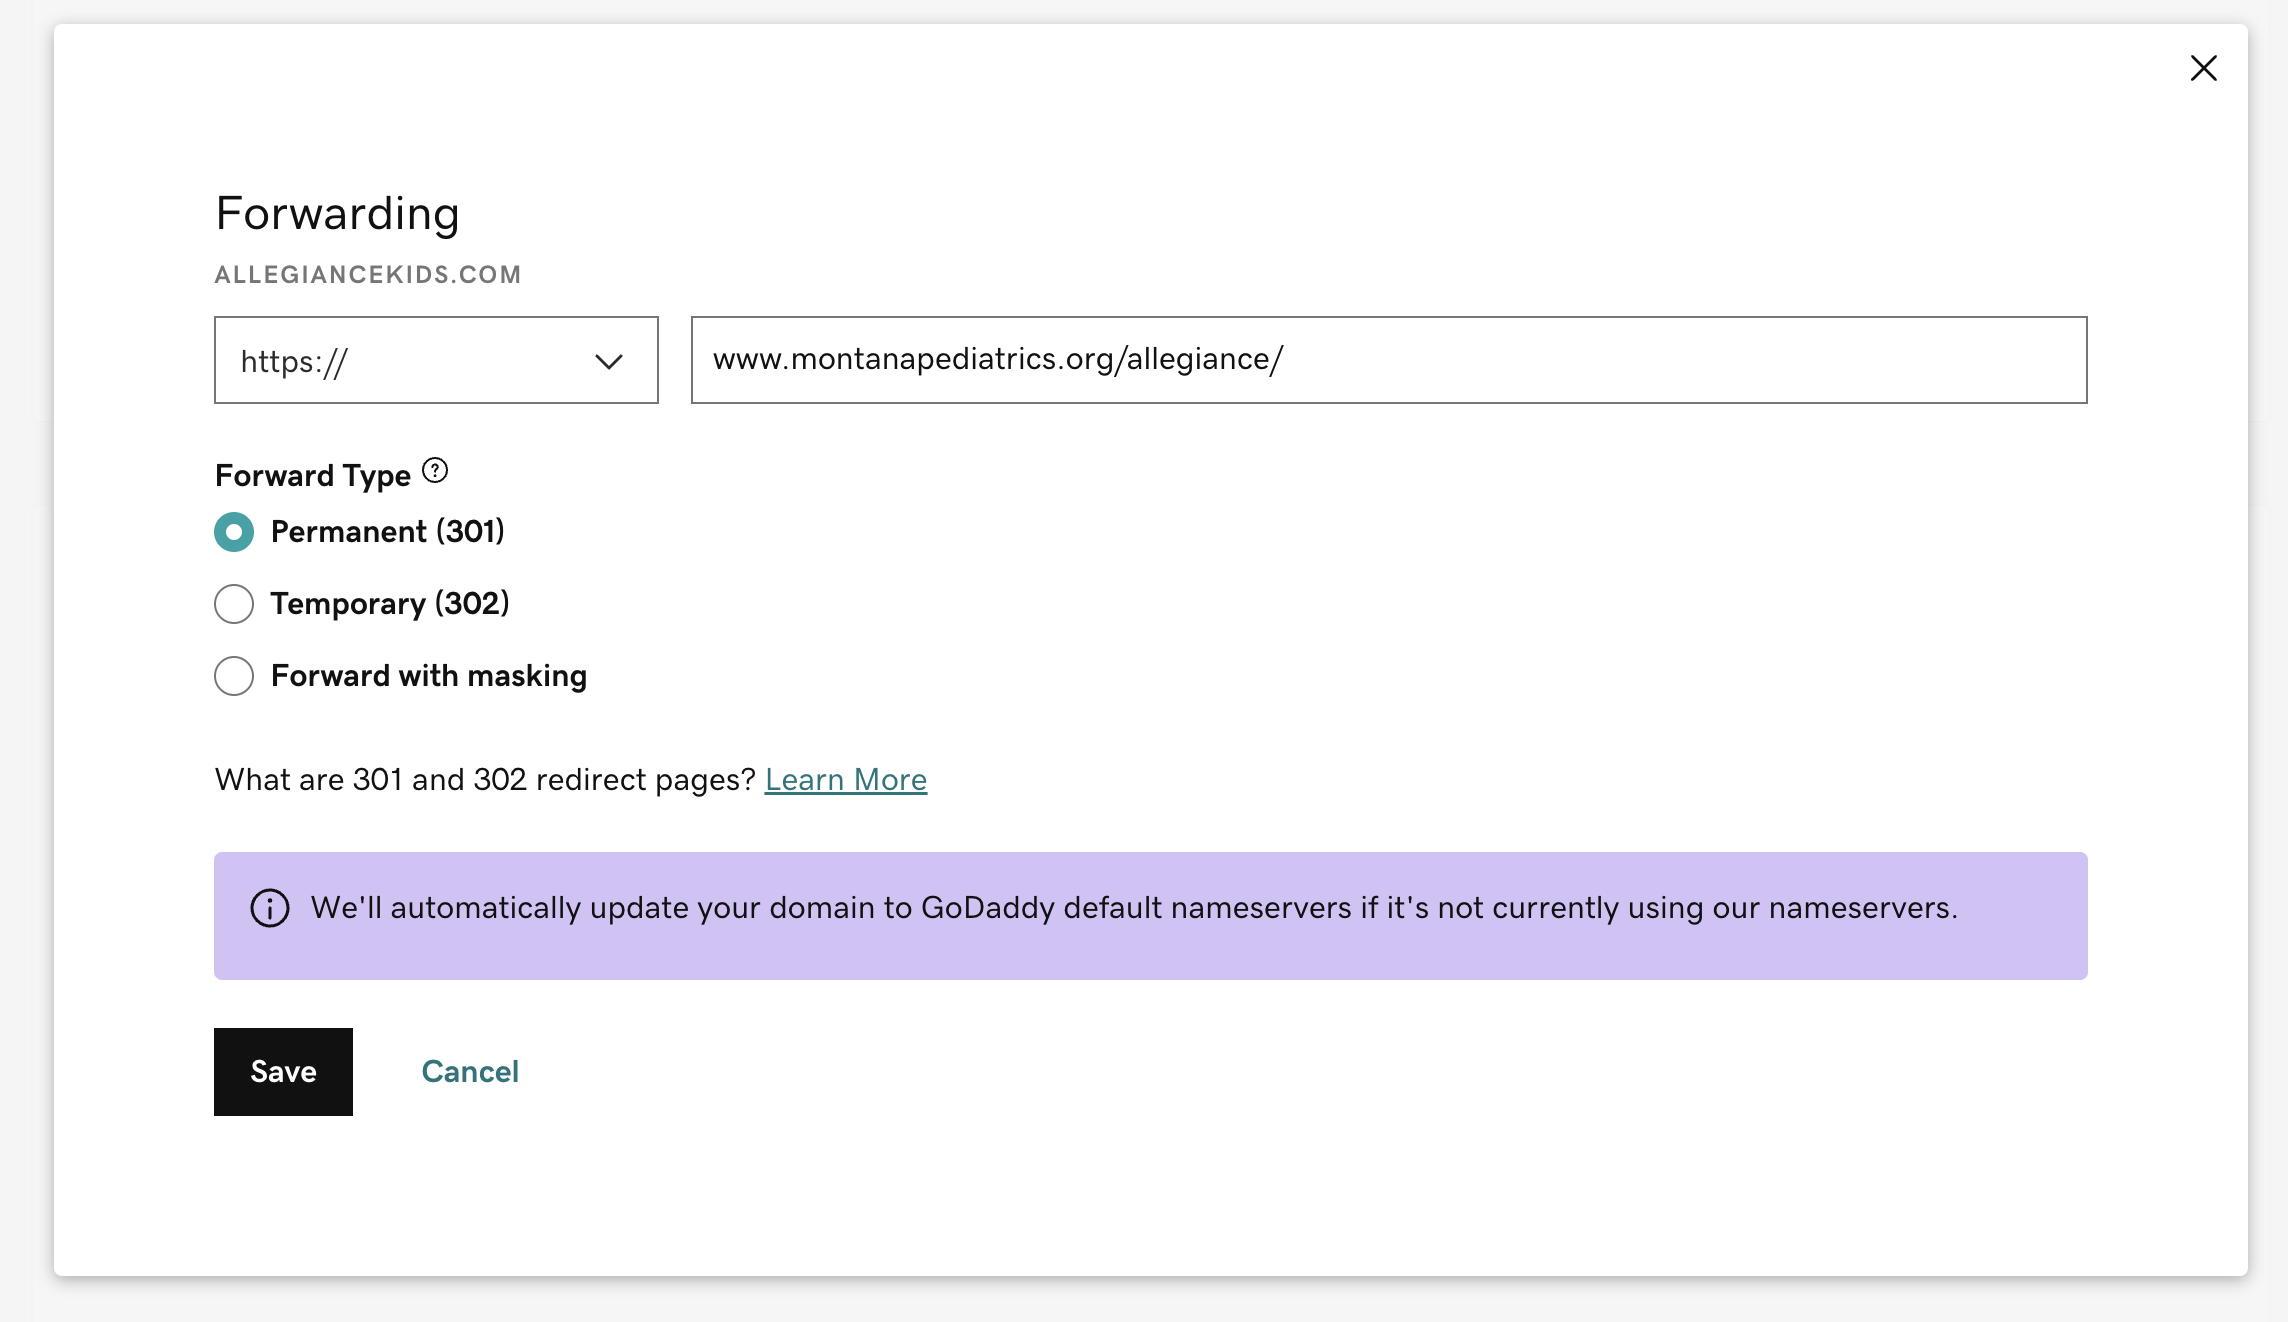
In the dialog, you’ll want to type the domain where you want to direct users.

Option 3: Login to Godaddy and point the DNS.
If for some reason the approach in “Option 1” isn’t working, you may need to point the domain yourself. While not quite as easy, it’s still an easy process that takes no more than 10-15 minutes.
Step 1: Point the DNS in GoDaddy
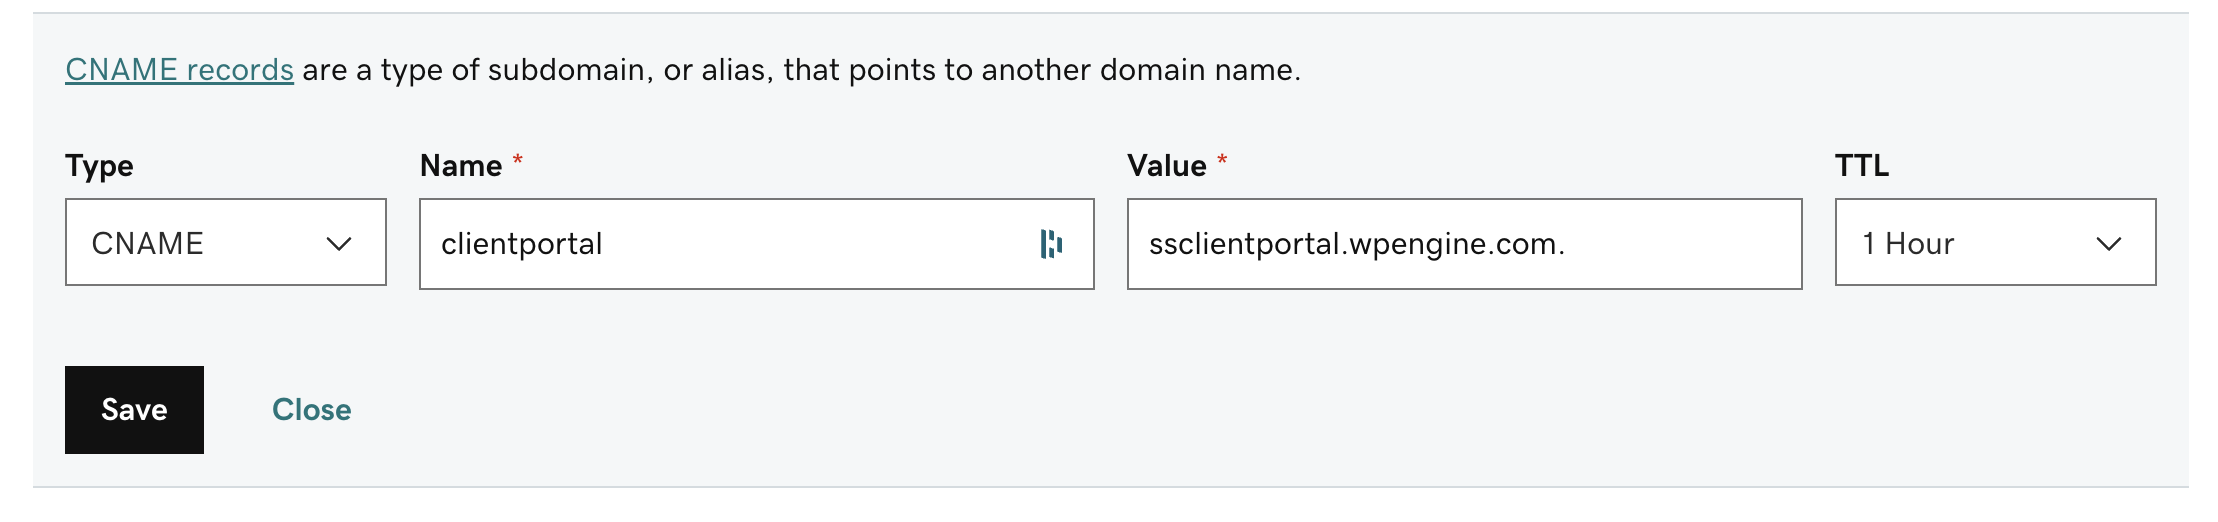
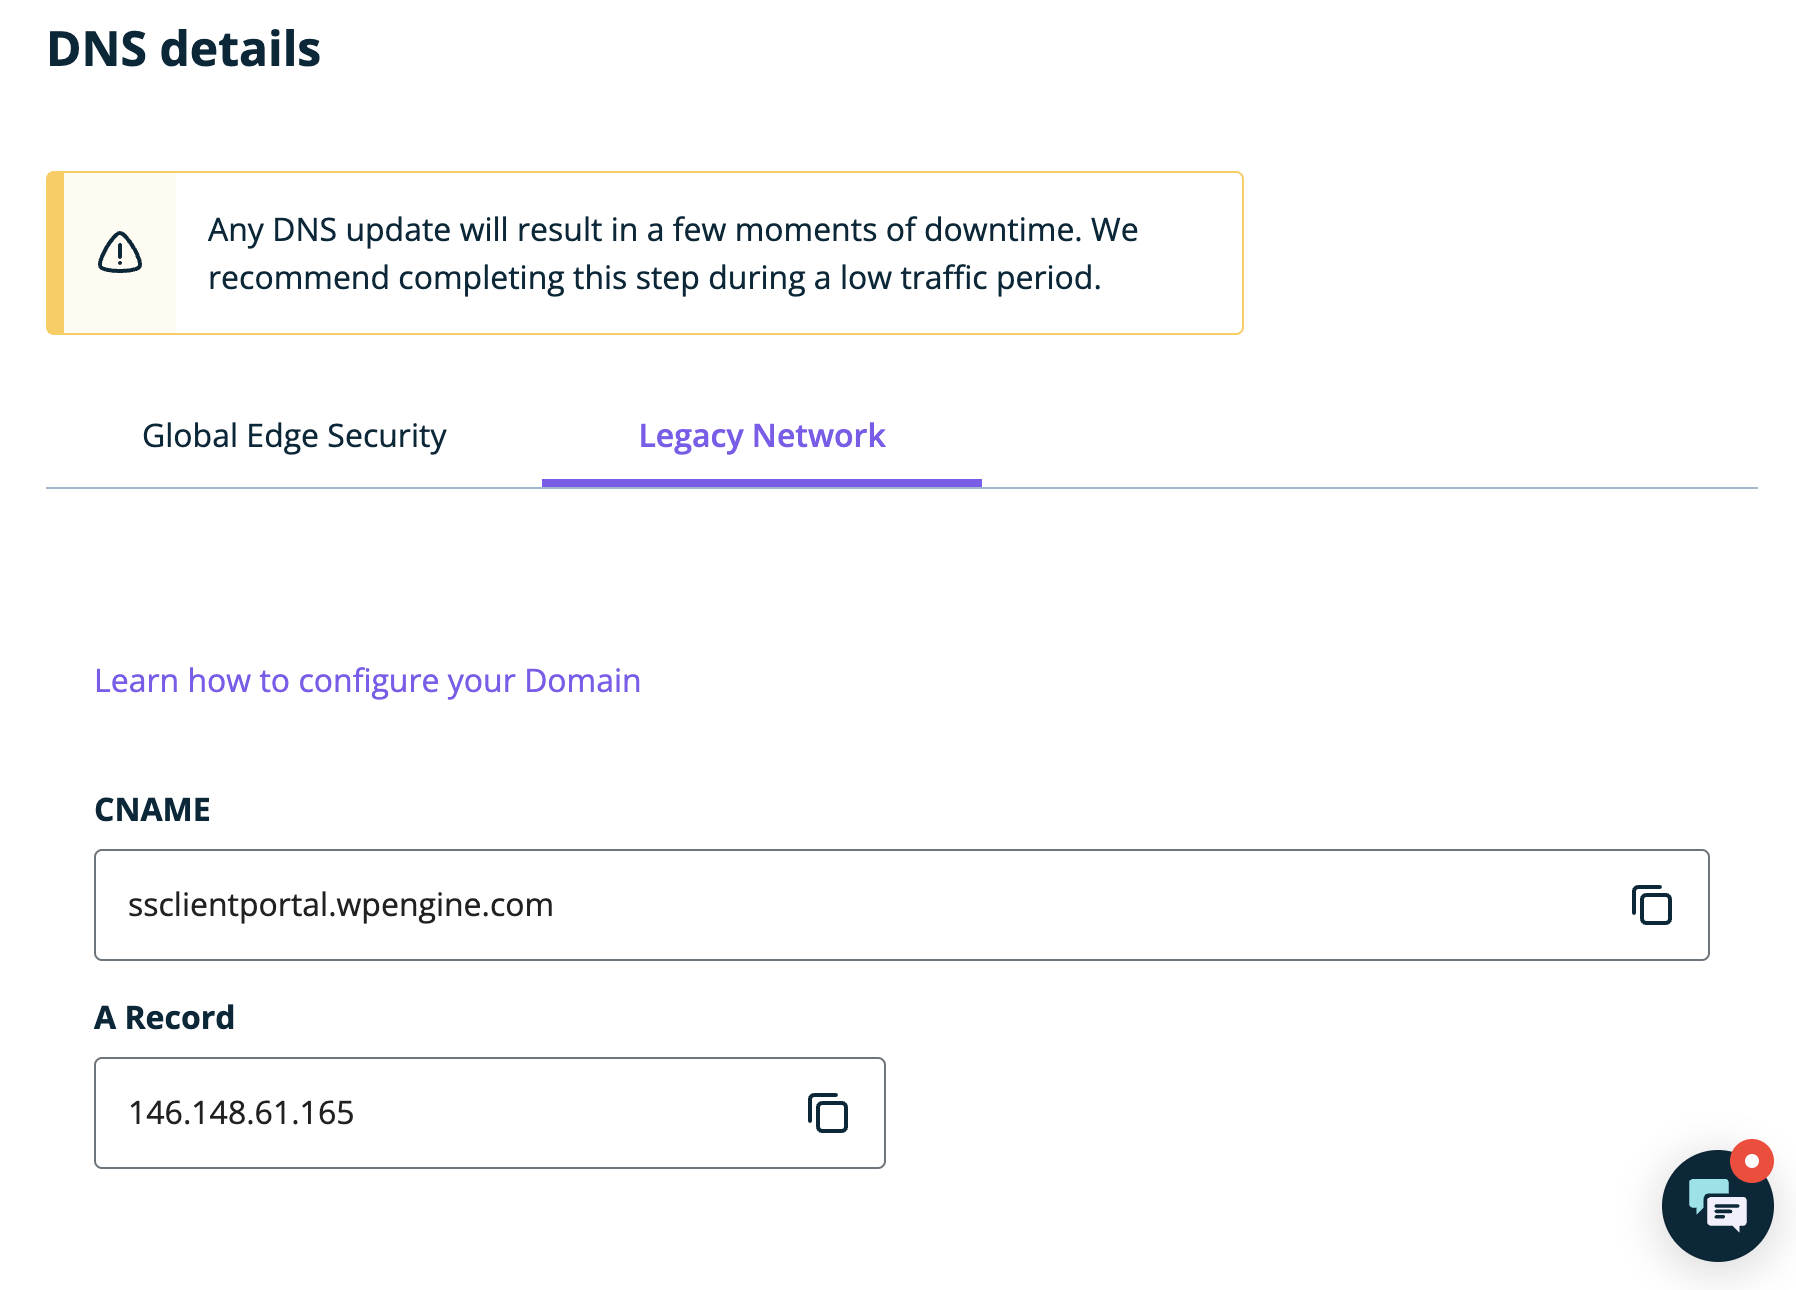
When you hit the welcome screen, you will be greeted with a list of all your domains. Click on “DNS” next to the domain that you want to point. You’ll want to set a CNAME record (see below). You can find the proper CNAME info inside your WP Engine account if you navigate to the “Domains” tab and scroll down to the “Legacy Network” information.
Step 2: Find and replace your WordPress database
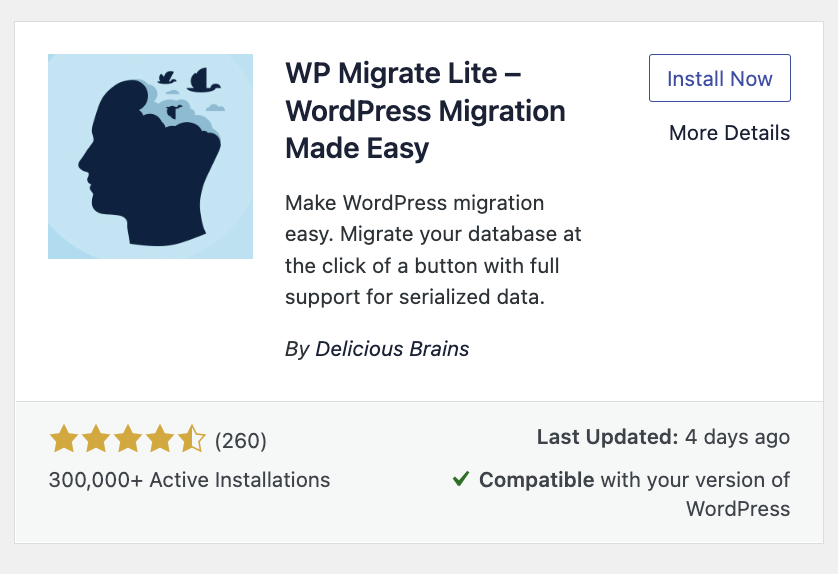
Next, you’ll want to make sure your WordPress database contains the correct URLs. You can use a plugin to find/replace all instances of the old URL; our preferred go to is the WP Migrate Lite plugin (formerly WP Migrate DB).
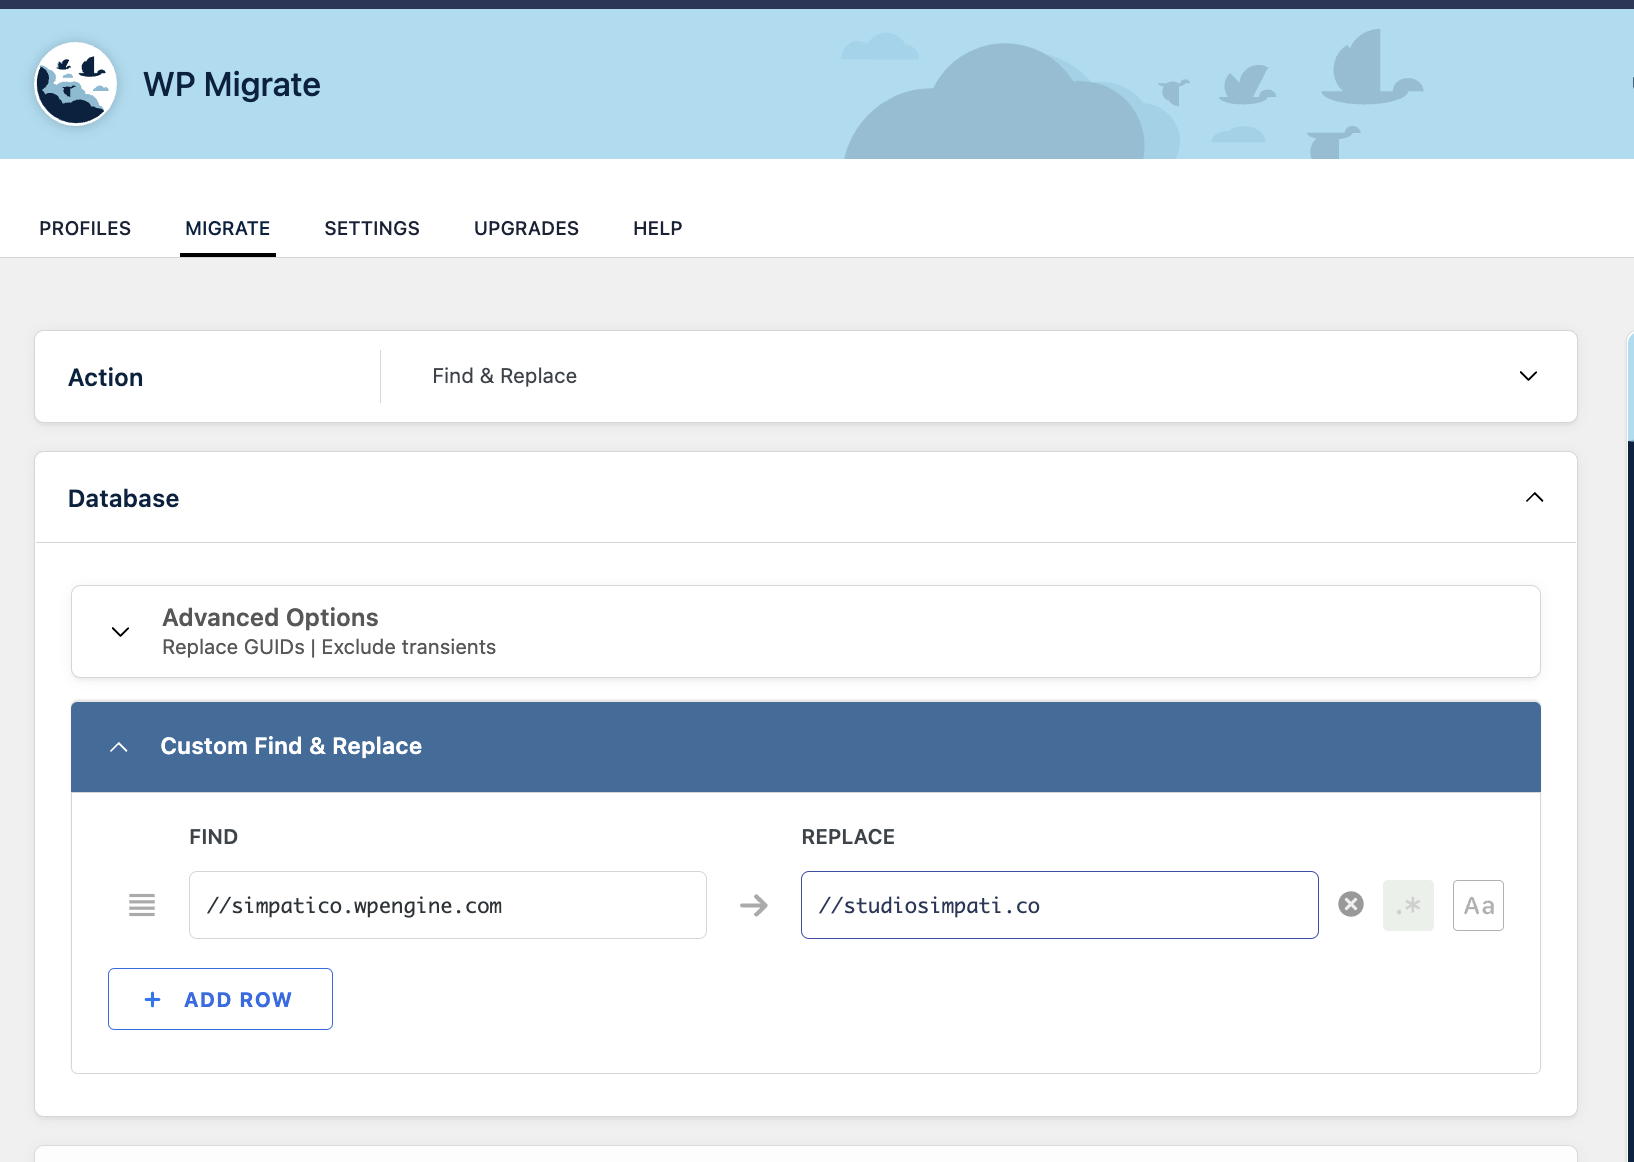
Once the plugin is installed, inside the plugin Settings you’ll find the “Migrate” tab. In here, you can setup instructions to find and replace the old URL with the new one.
Step 3: Set the primary domain in WP Engine
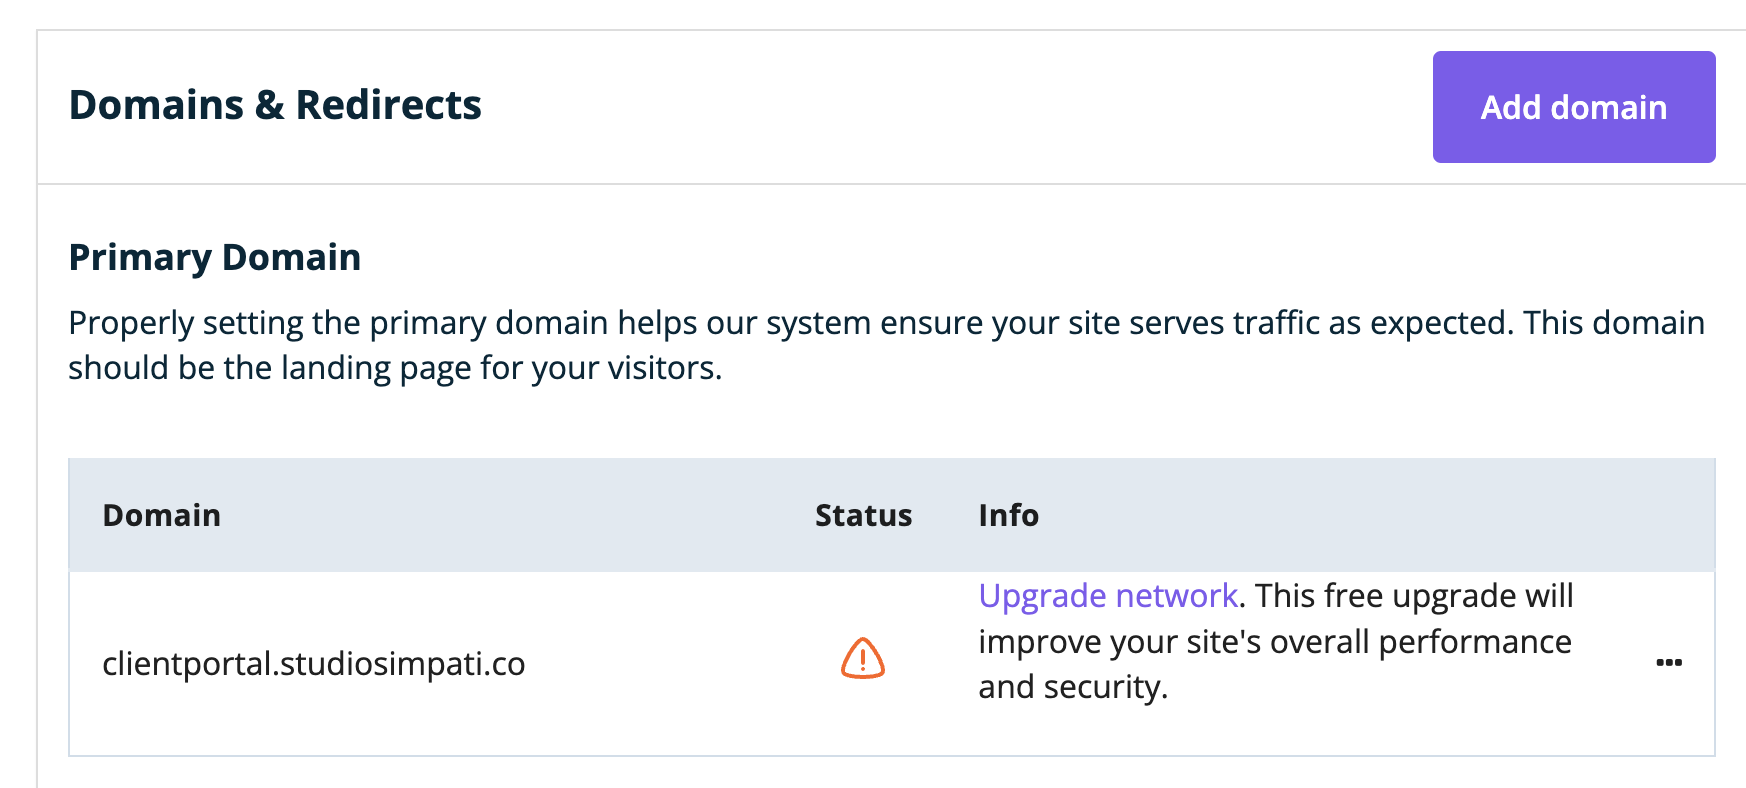
Back in your WP Engine portal, inside the Domains tab, you’ll want to set your primary domain to be the new domain.
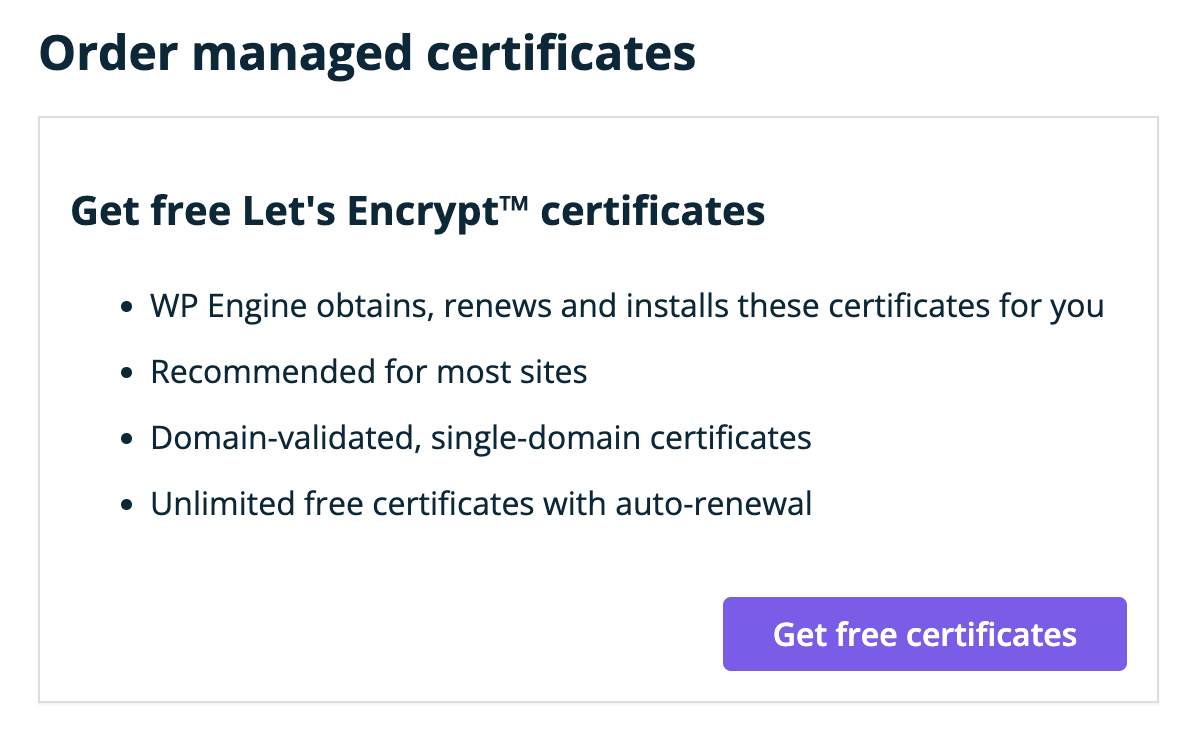
Step 4: Order your free SSL certificates
Lastly, inside the “SSL” tab you can order certificates for all of your domains to support. Ordering and installing SSL certs is completely free, but usually takes anywhere from 5-10 minutes.