
Introduction
Linking to PDFs on your website is a great way to make white papers, one-pagers, and other documents easily accessible to your audience. WordPress has made it really easy to add files to your posts and pages, making adding a PDF file simpler than you might think!
Step 1: Upload PDFs to the Media Gallery
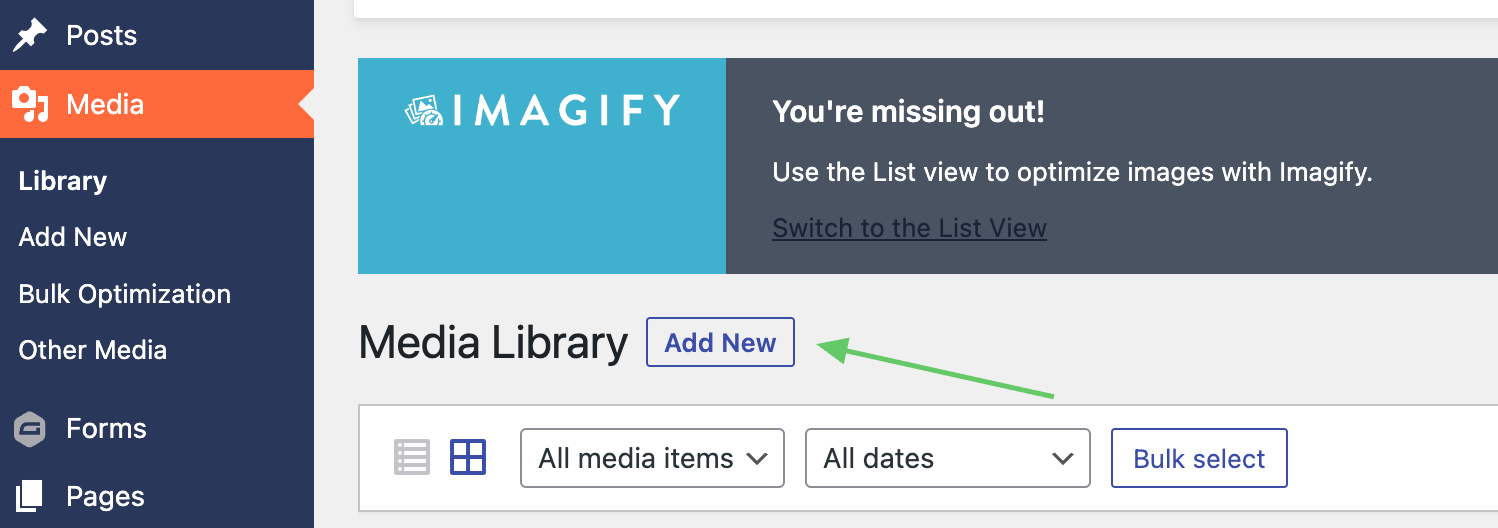
The first step is to upload your PDF(s) to the media gallery. On the left rail menu, select Media to open the Media Library. Then click Add New to open the Upload box.
Step 2: Copy the file URL
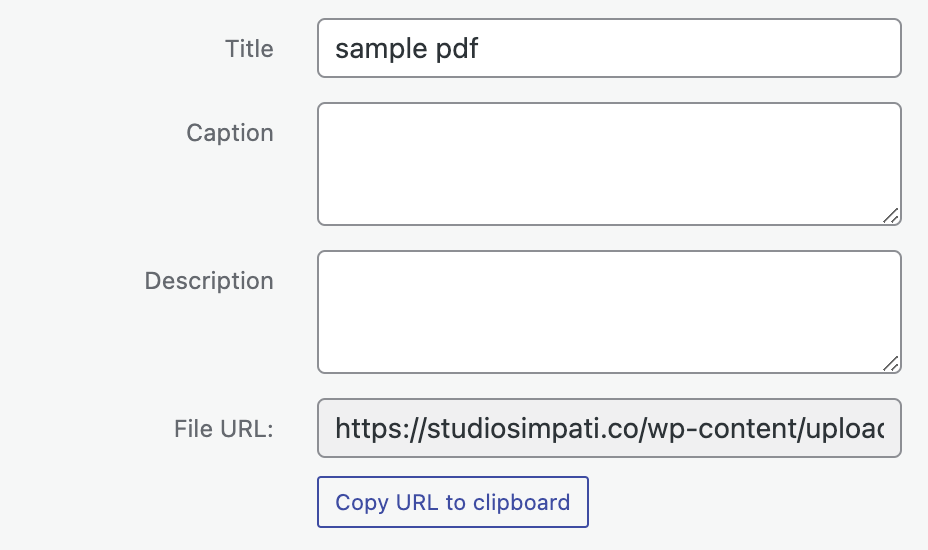
After uploading your document, click on it to open up the file details. Then, copy the file URL by clicking “Copy file URL to clipboard” on the right side of the pop-up.
Step 3: Paste the file URL
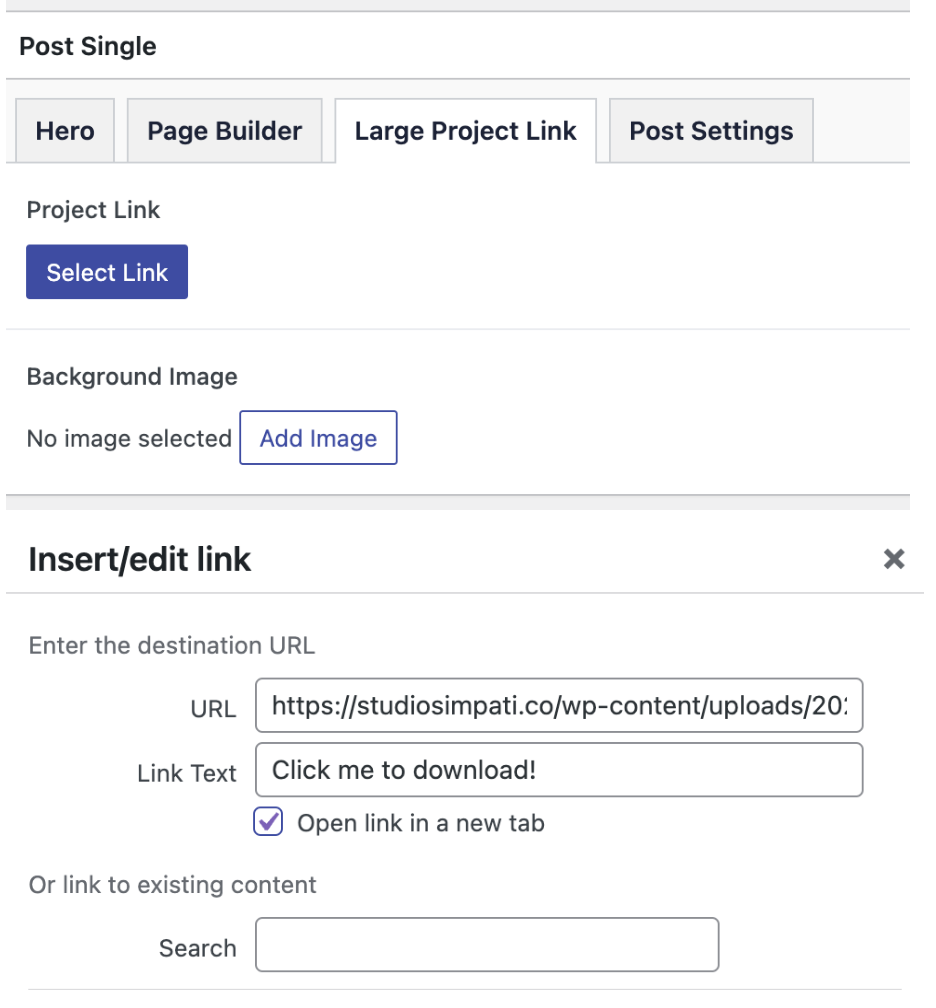
The final step is to paste this file URL in a button where users can click to download or view the PDF. You can paste the URL anywhere there is a button in your theme/page template. Or you can link a line of text in a WYSIWYG (what you see is what you get) editor.
Conclusion
That’s it! Now users who click on this particular button or link will open the PDF in a new tab or prompt a document download.